Terabee
Terabee People Occupancy Counting
Accurately counting the number of people in a space has become increasingly important in both daily life and professional environments. To meet this market demand, Koolmesh is now compatible with Terabee sensors, allowing users to integrate them into the Koolmesh network for precise people counting.
To add a Terabee sensor to the Koolmesh system, follow these steps:
1.Ensure the Terabee sensor is properly installed and powered on.
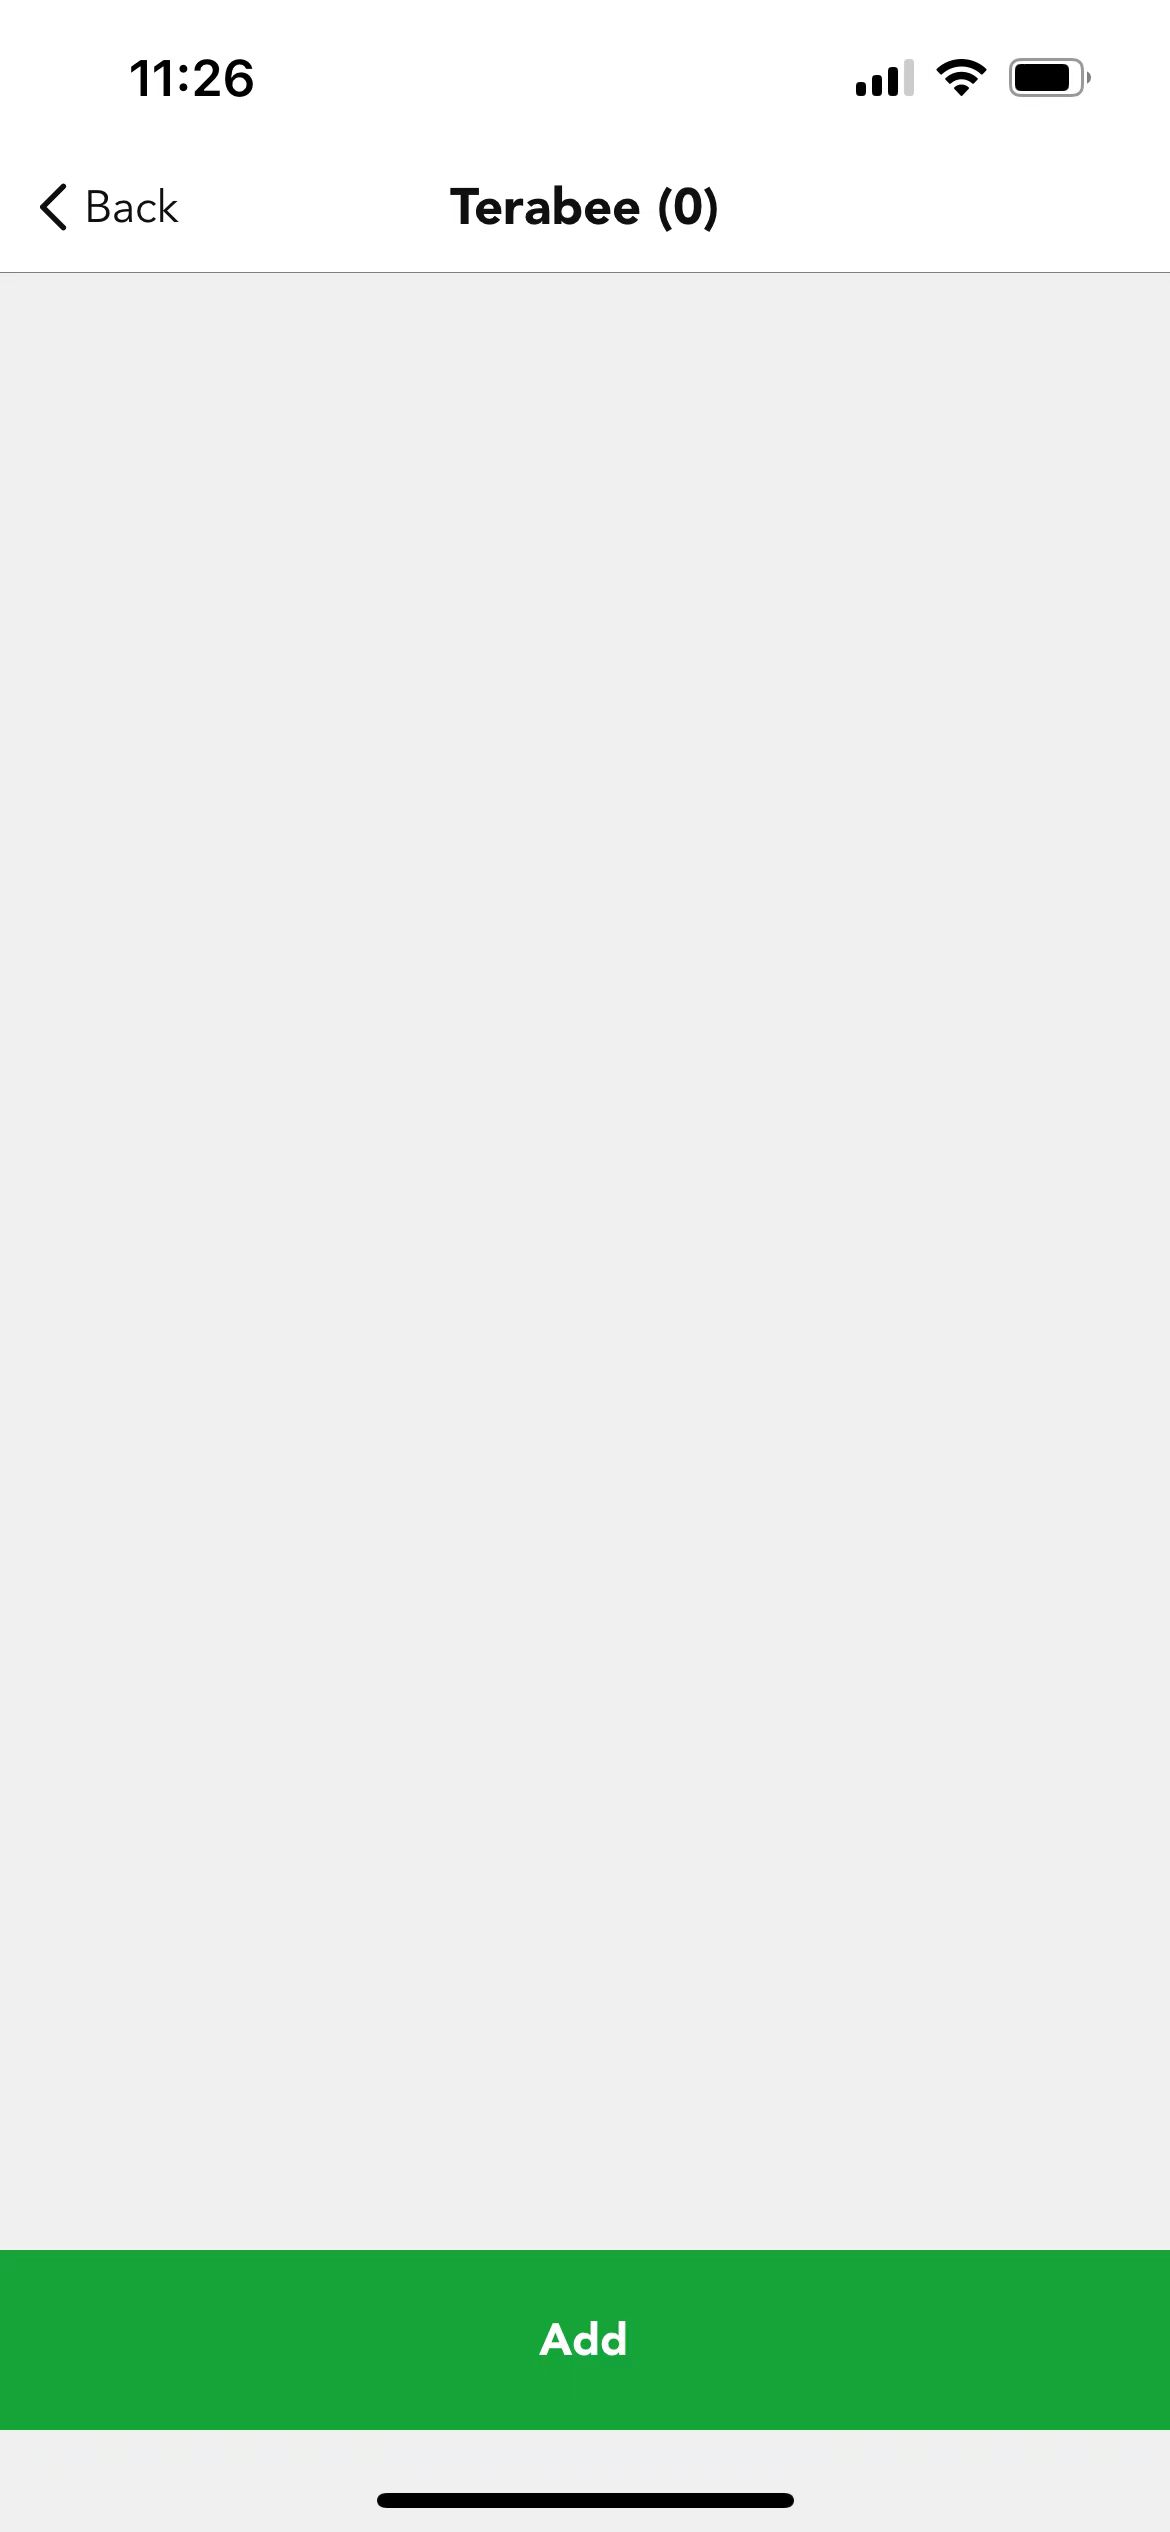
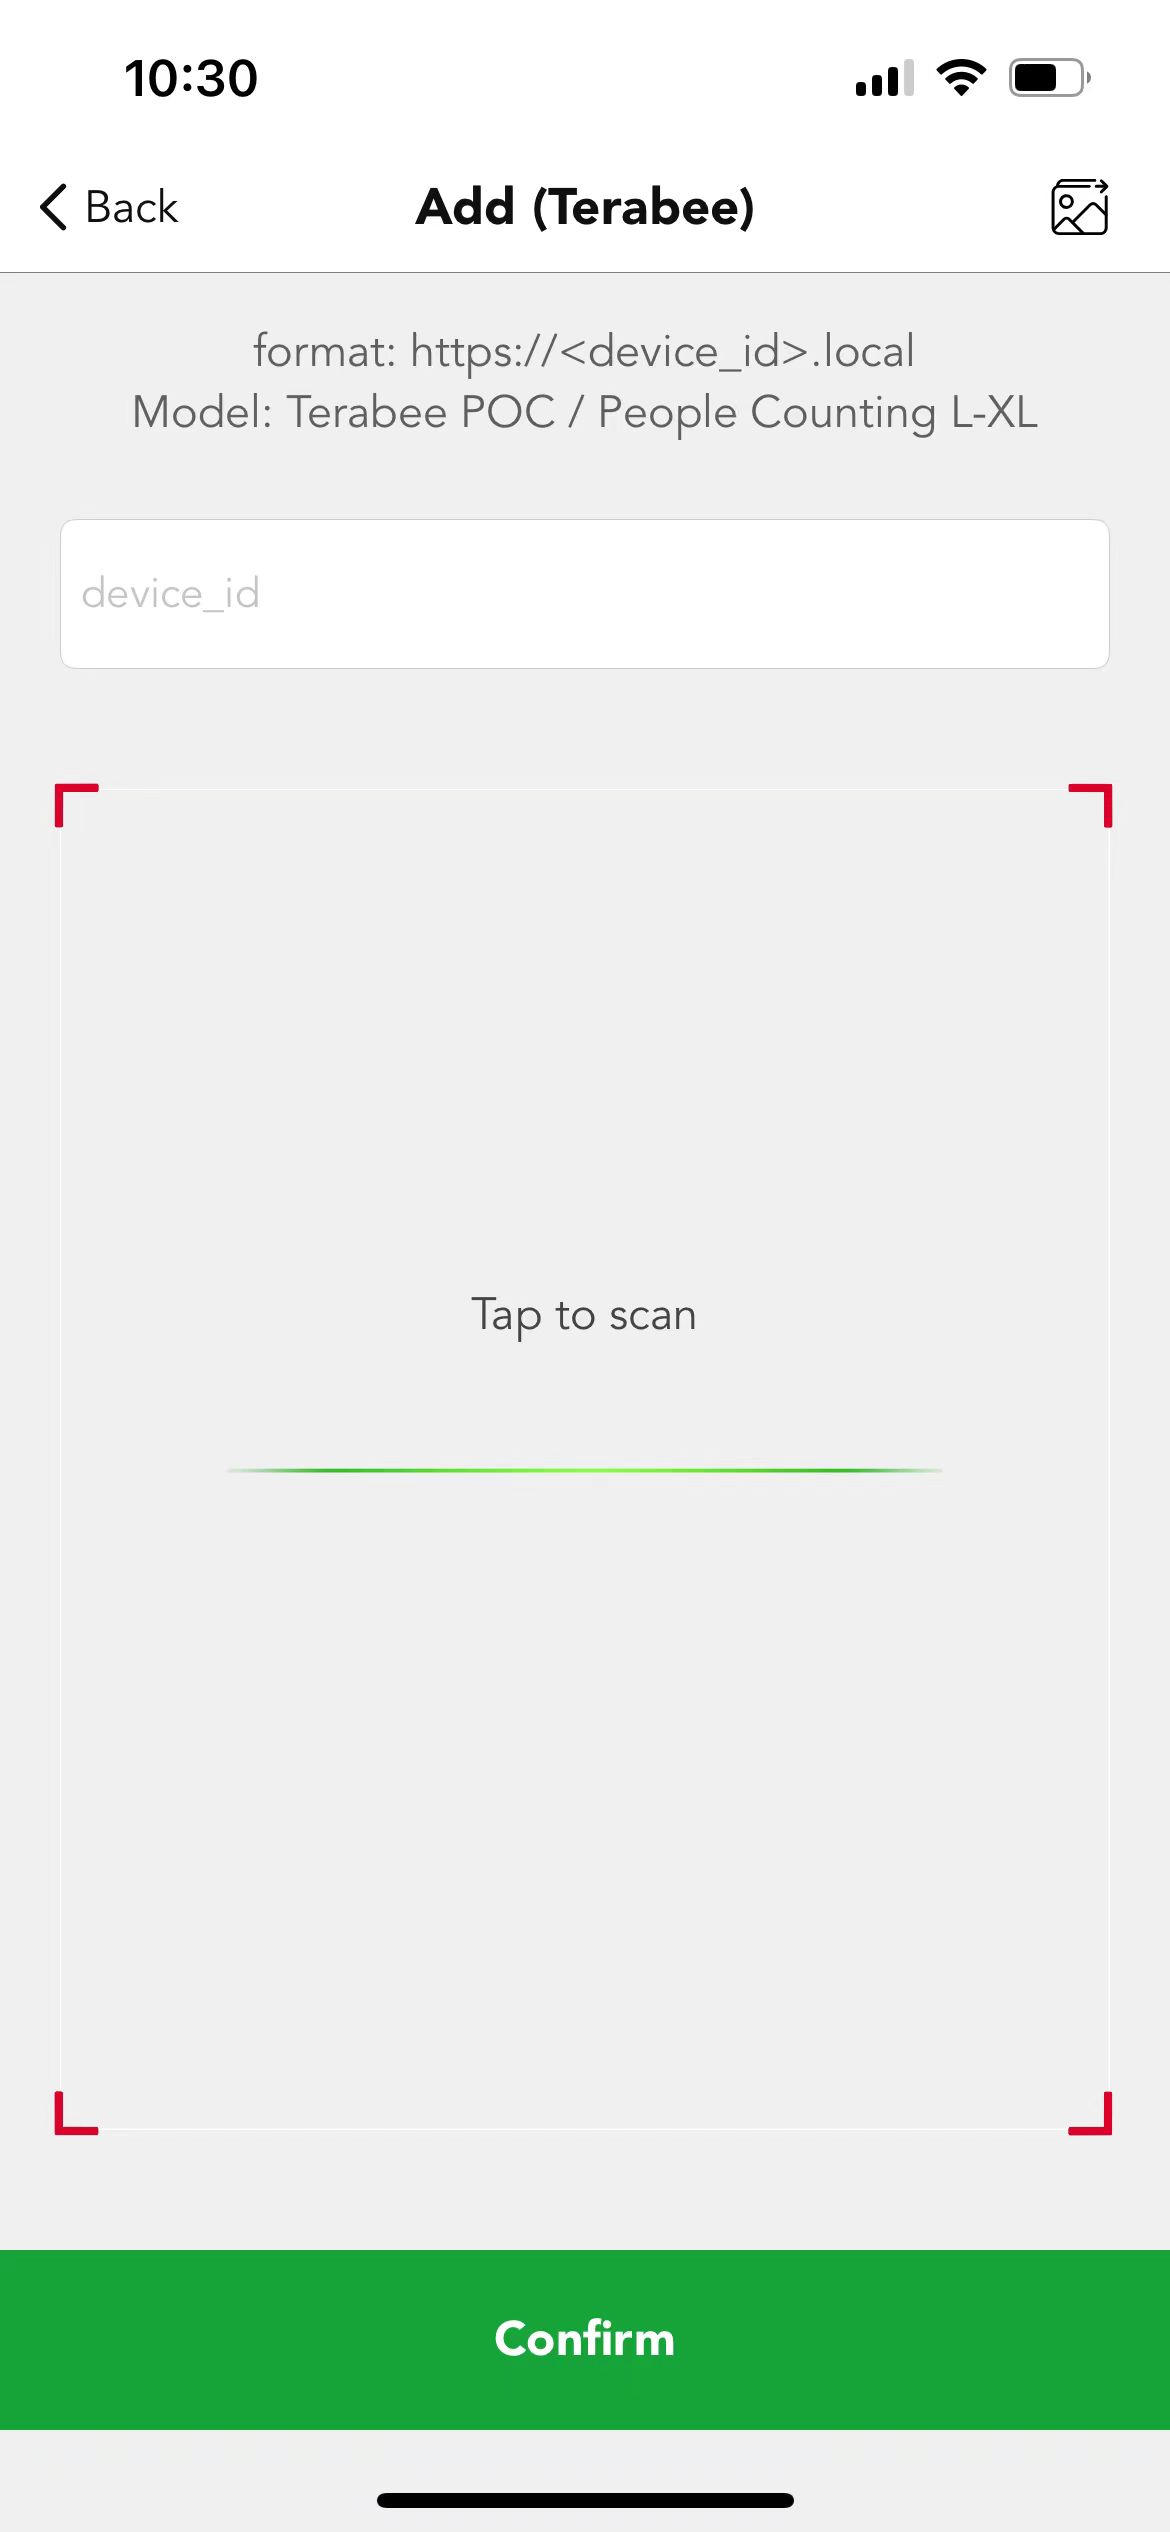
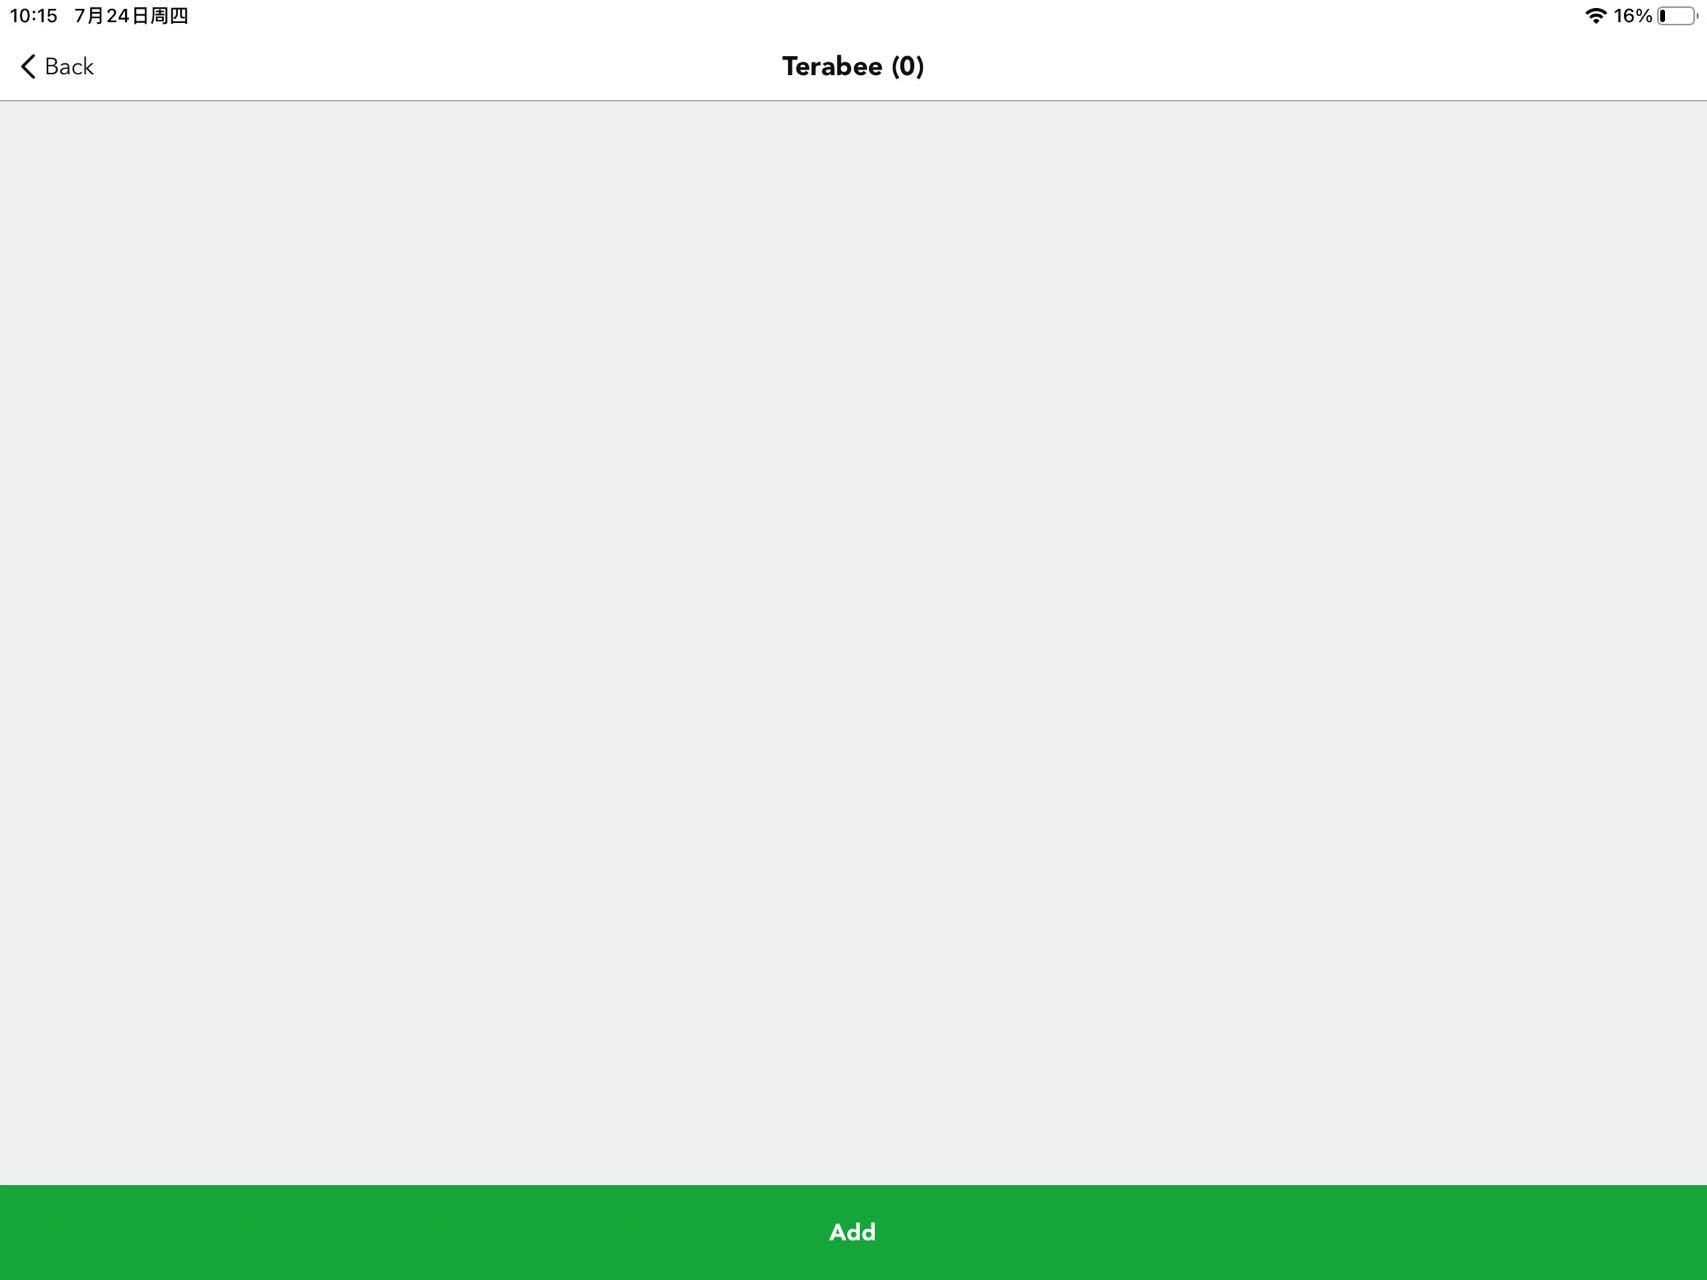
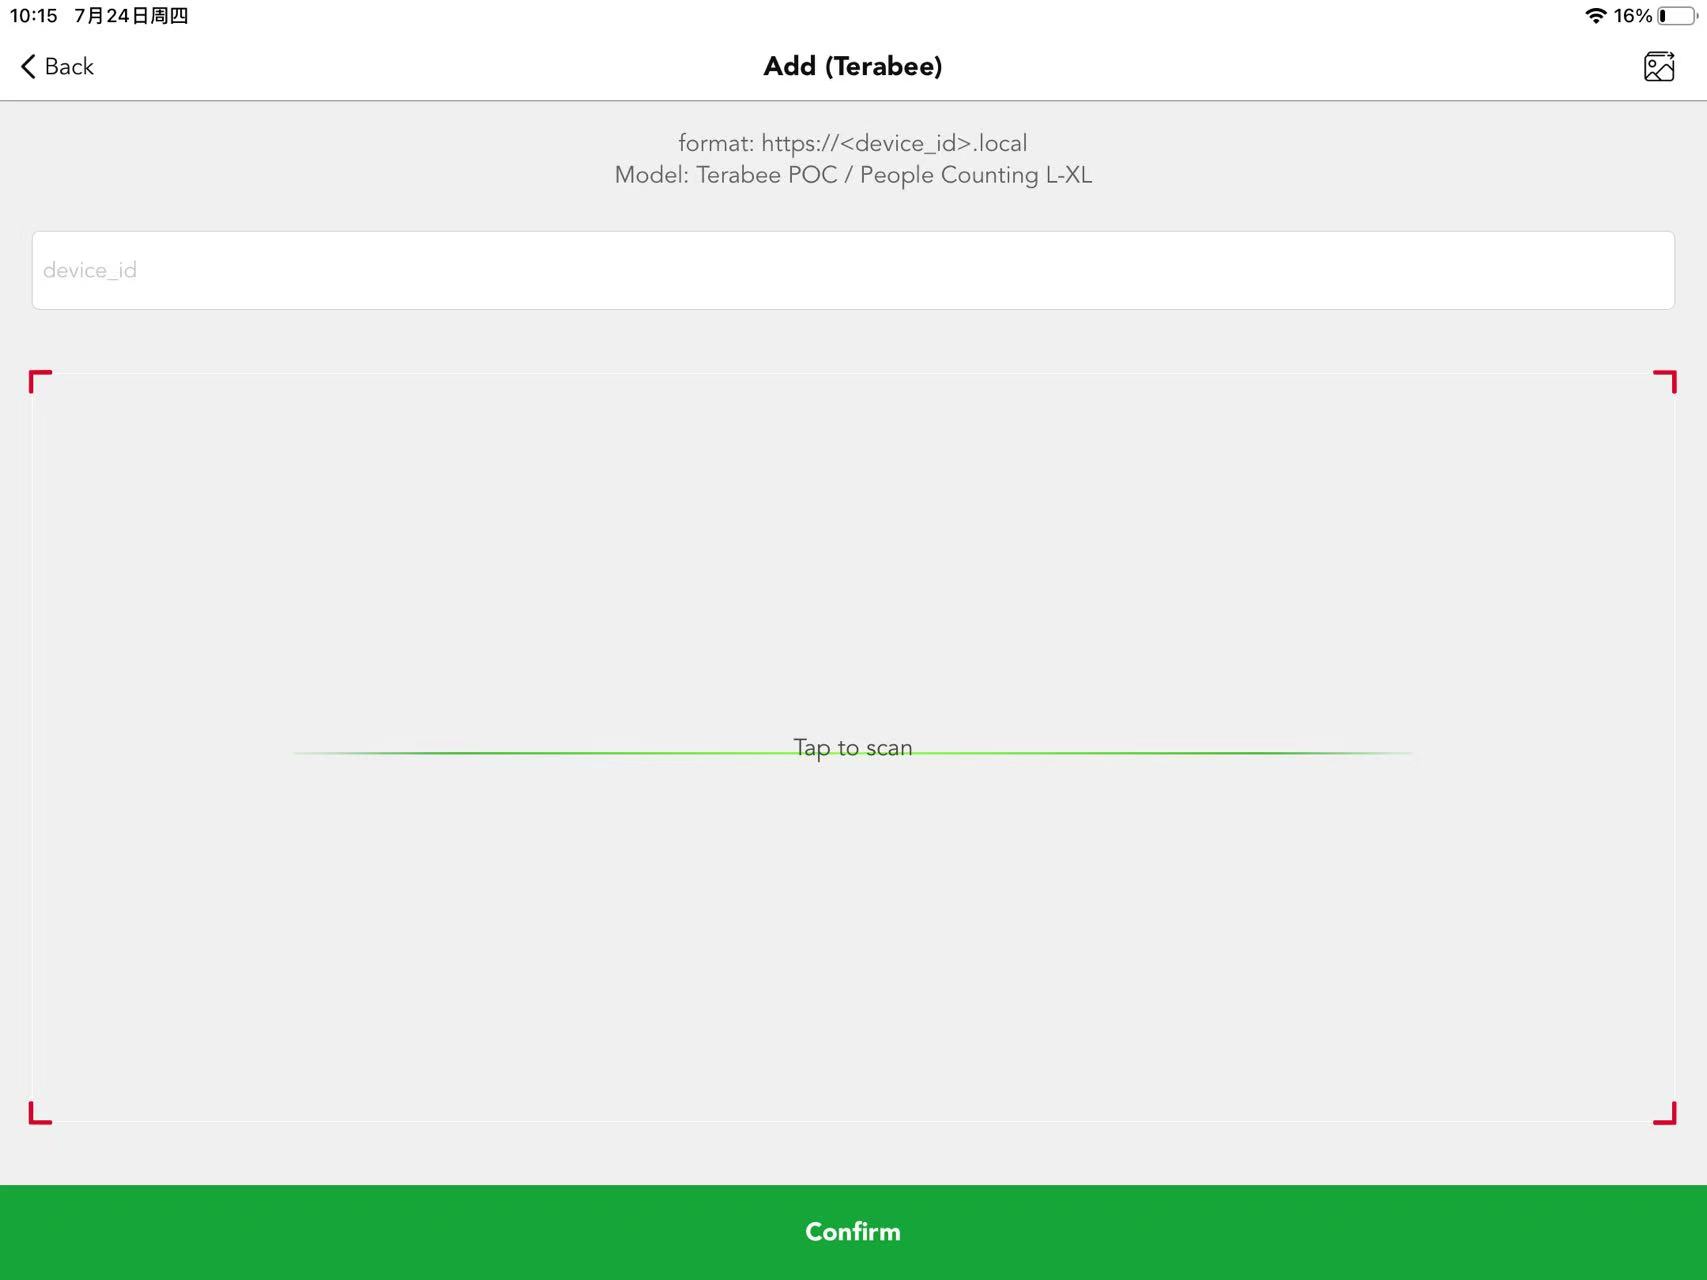
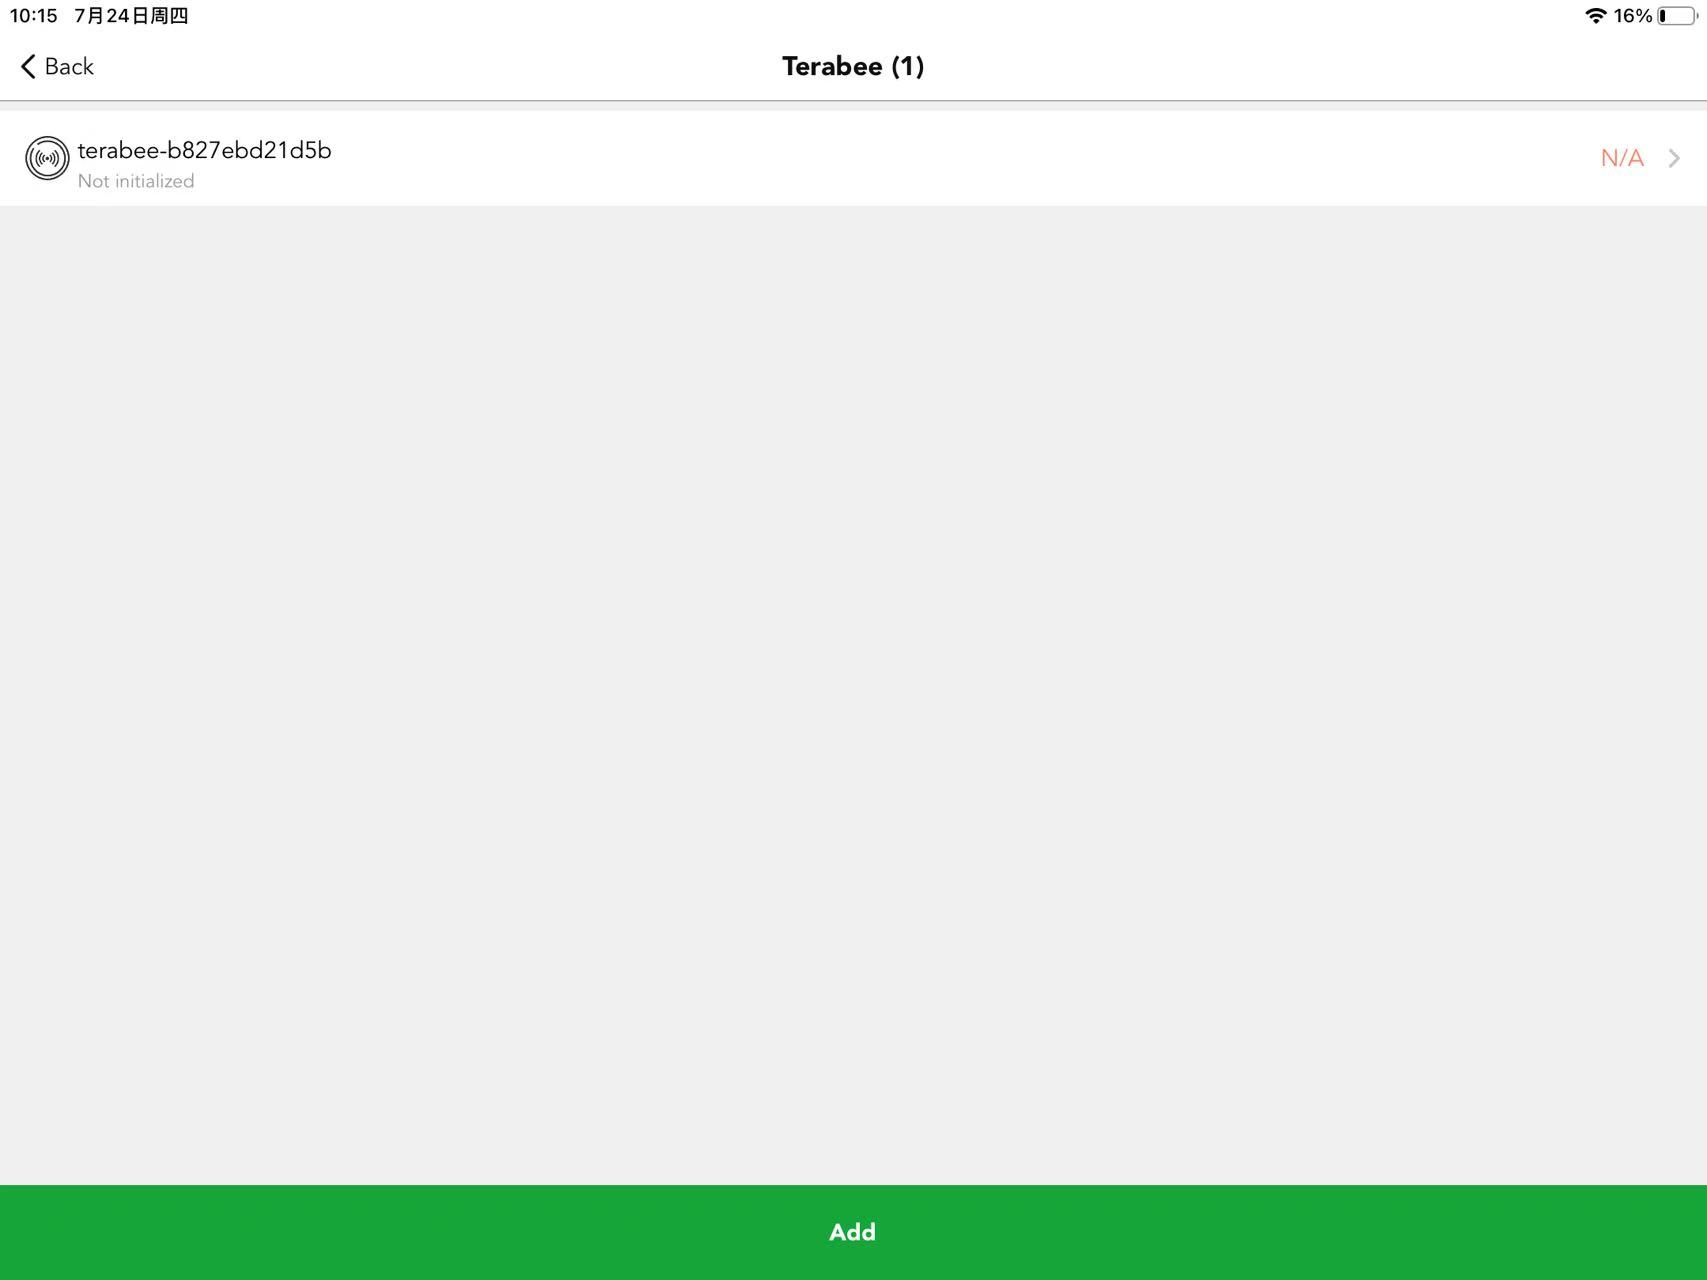
2.Tap the “Add” button in the app and scan the QR code of the Terabee sensor.
3.Assign a control object, i.e., the zone where the sensor is installed (e.g., “Branding”).
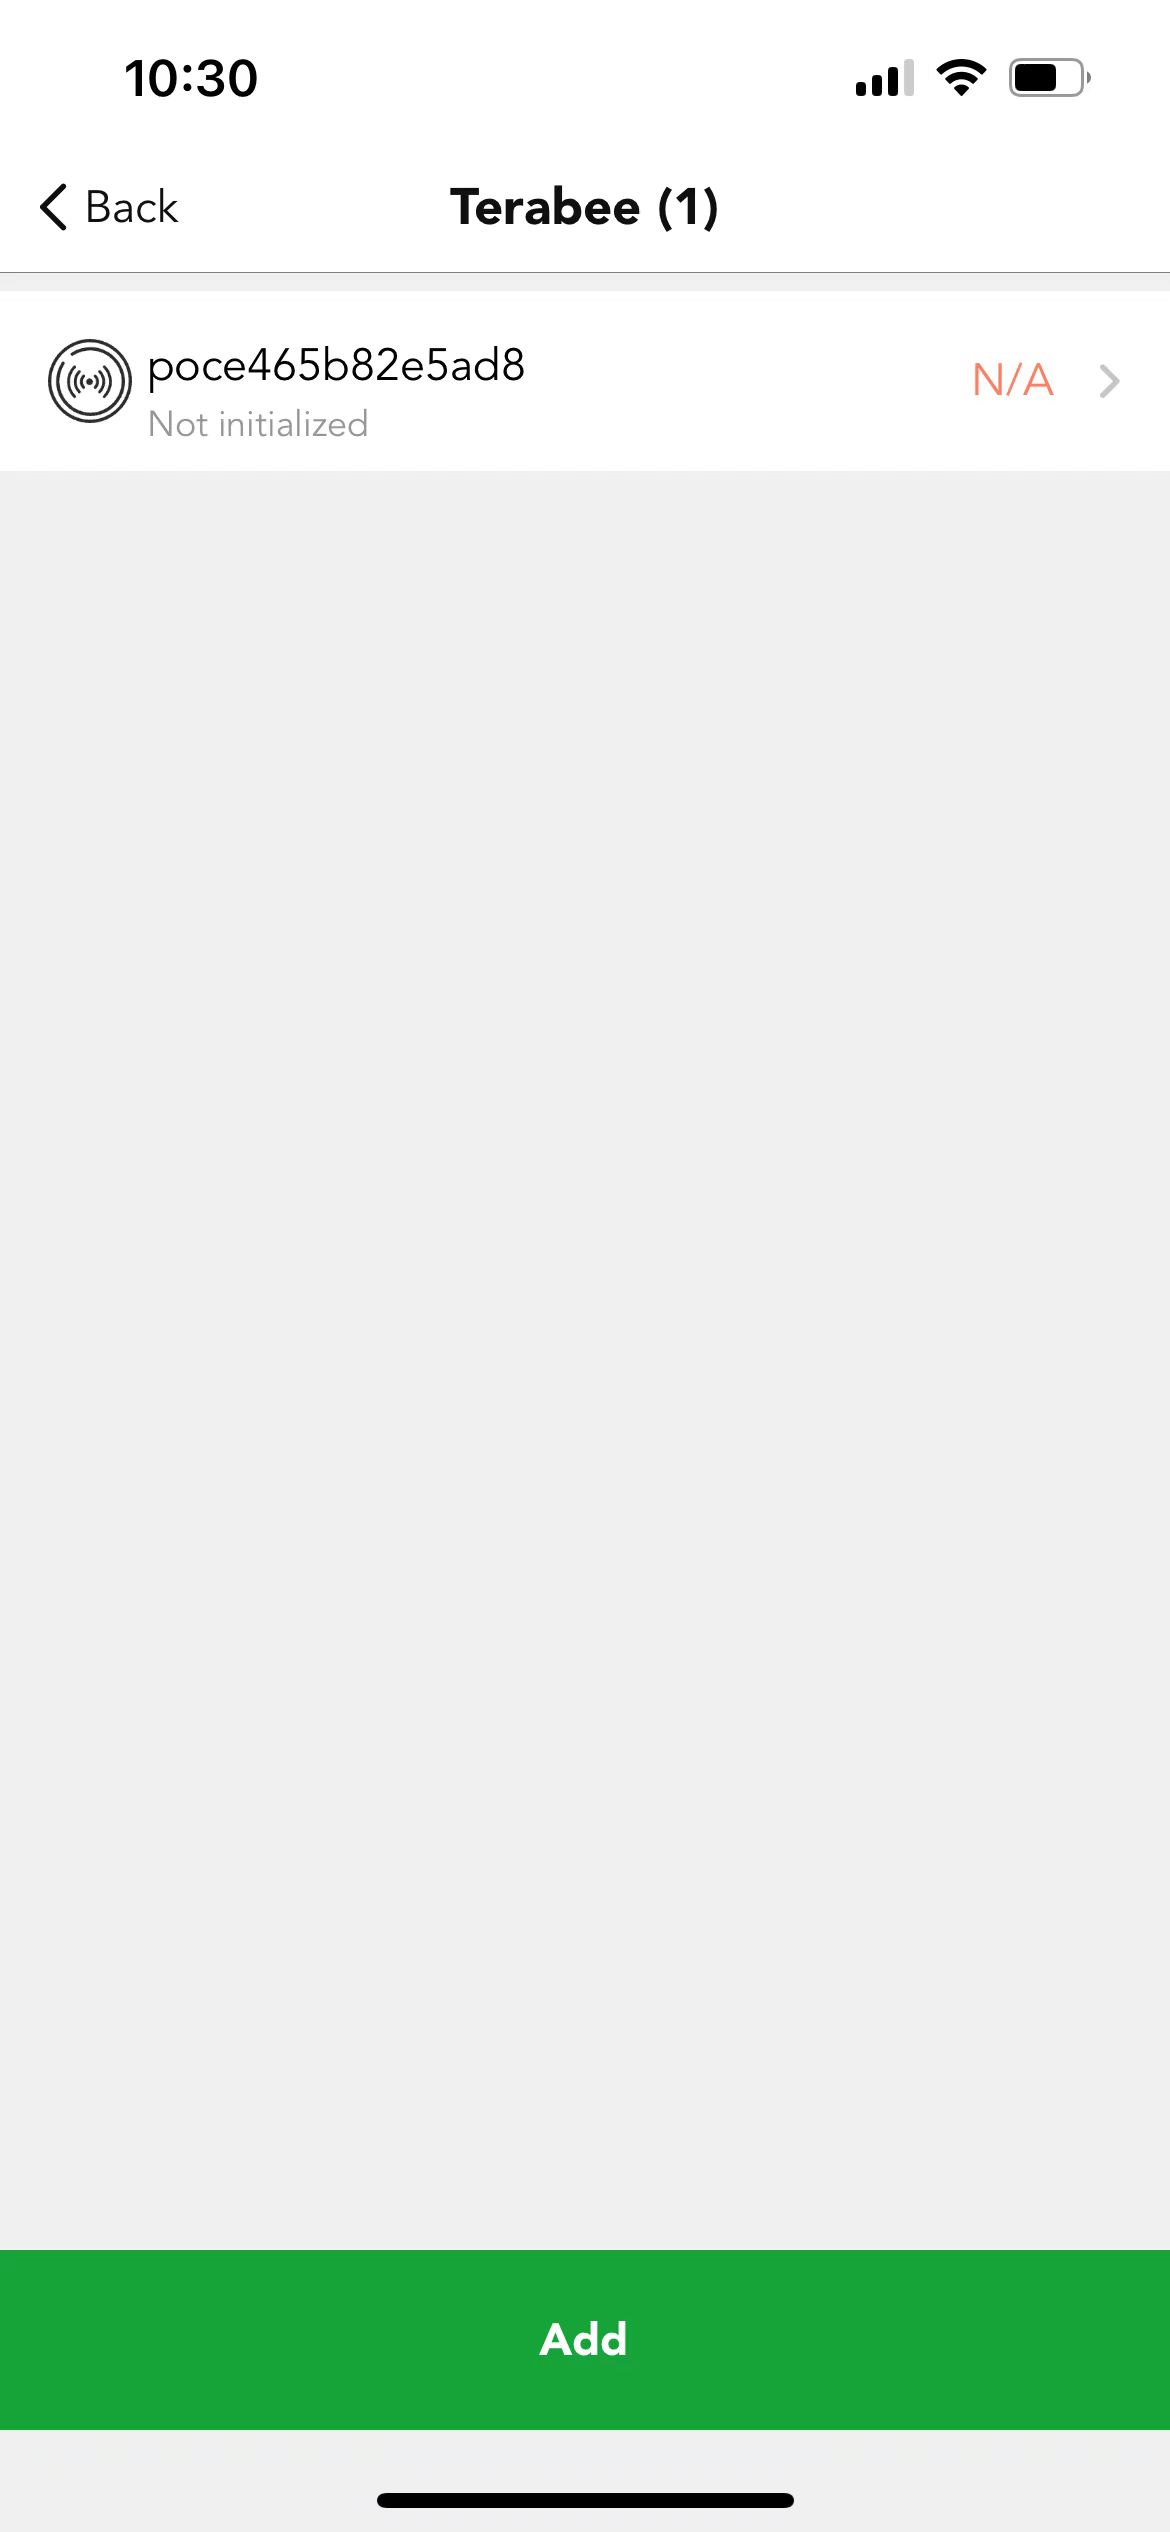
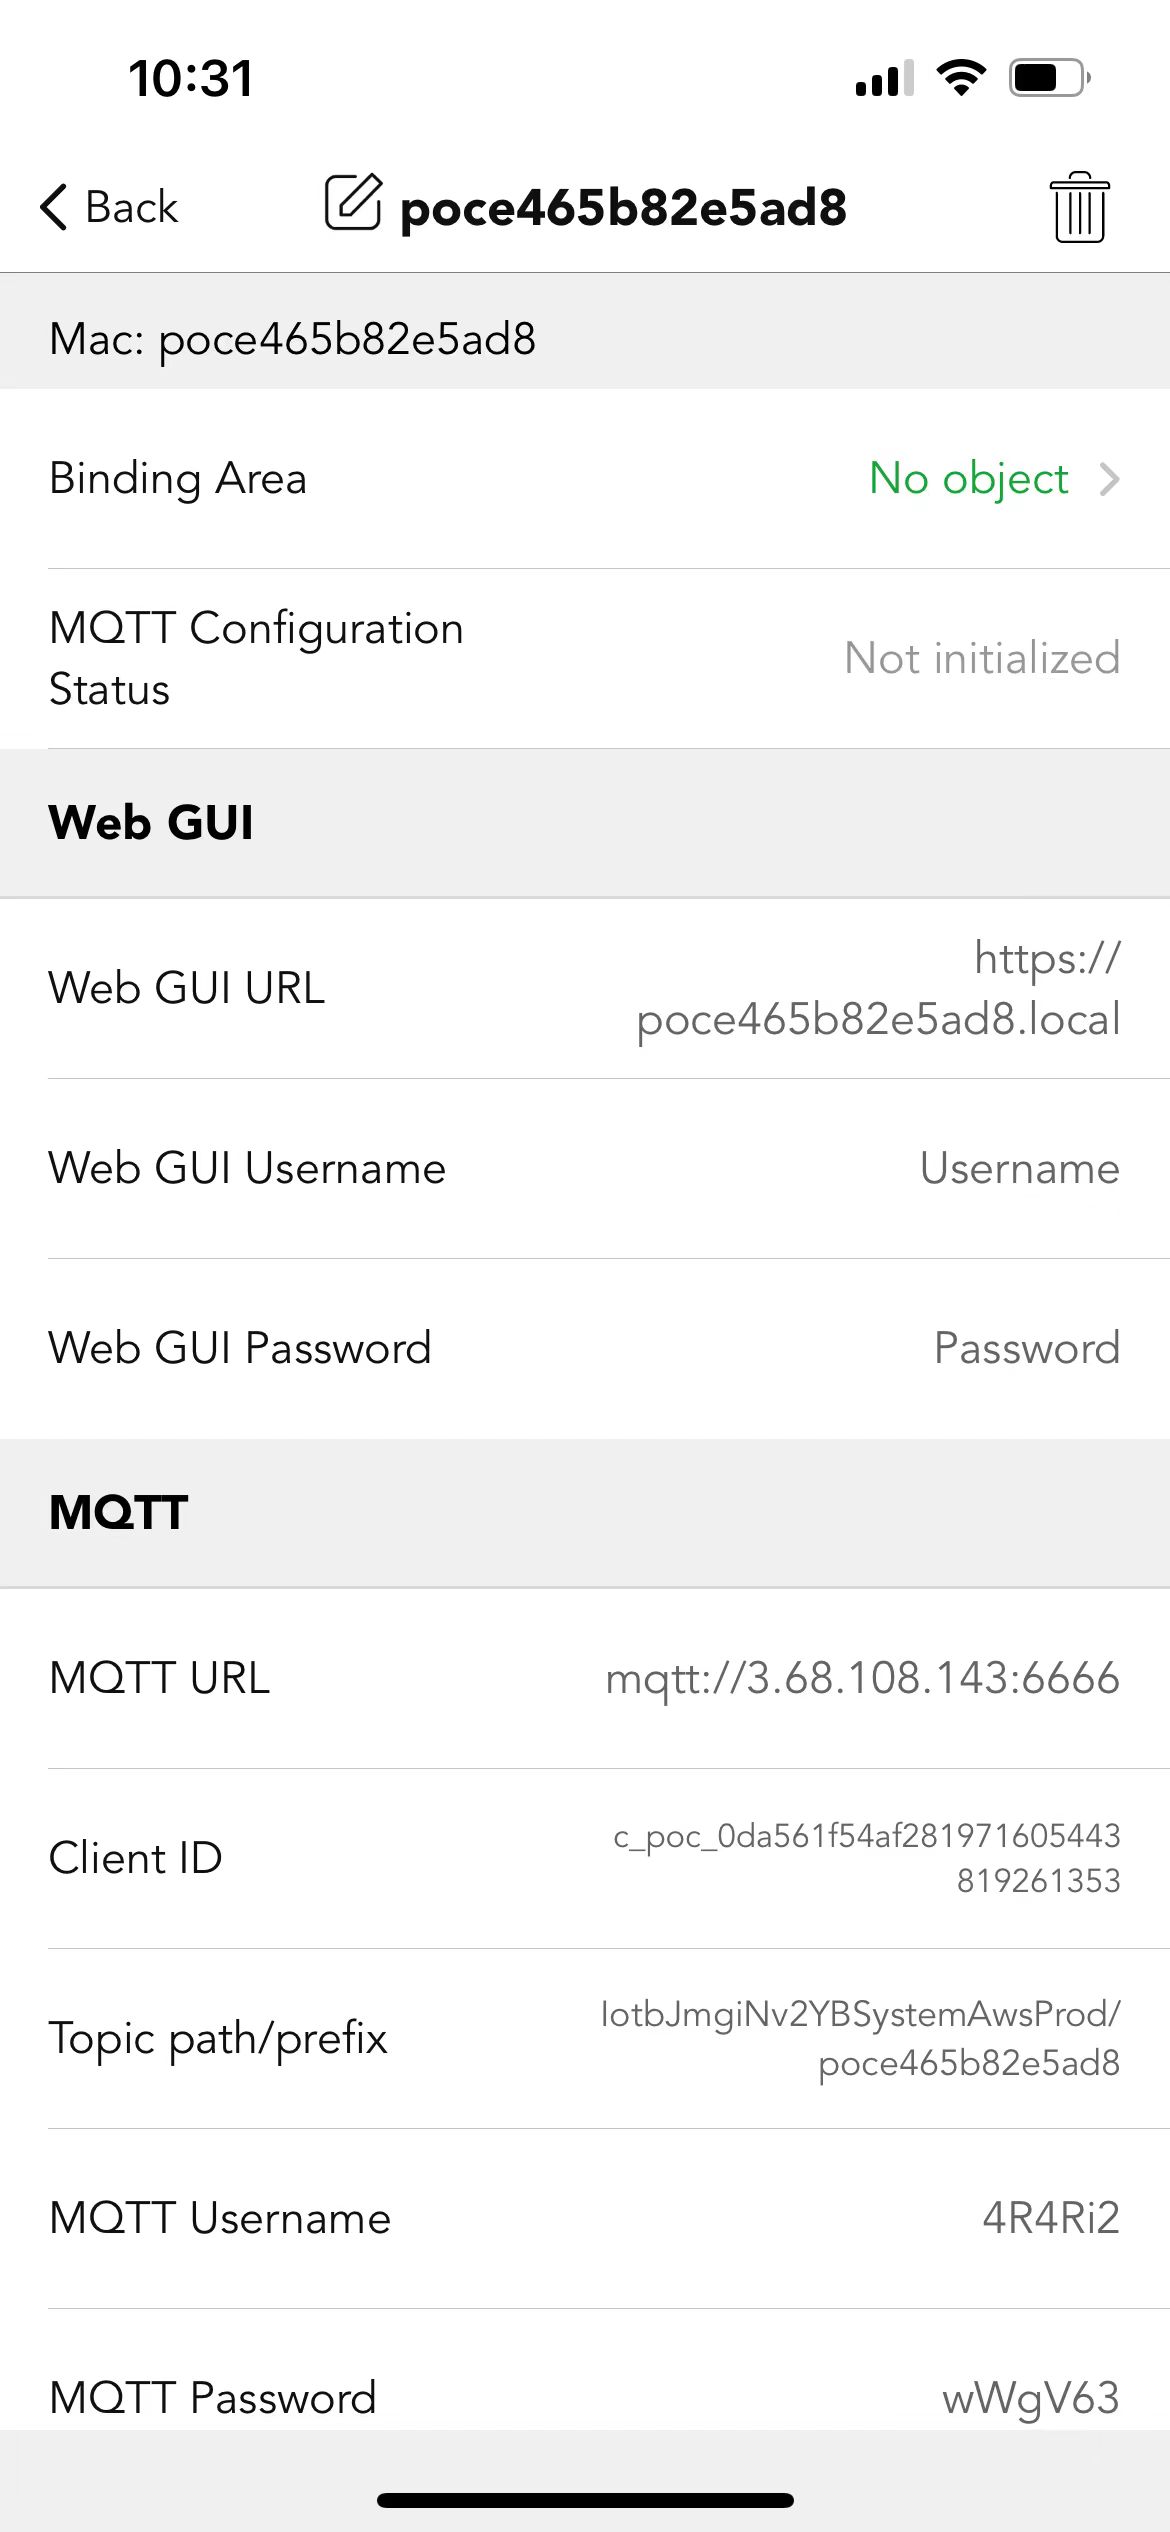
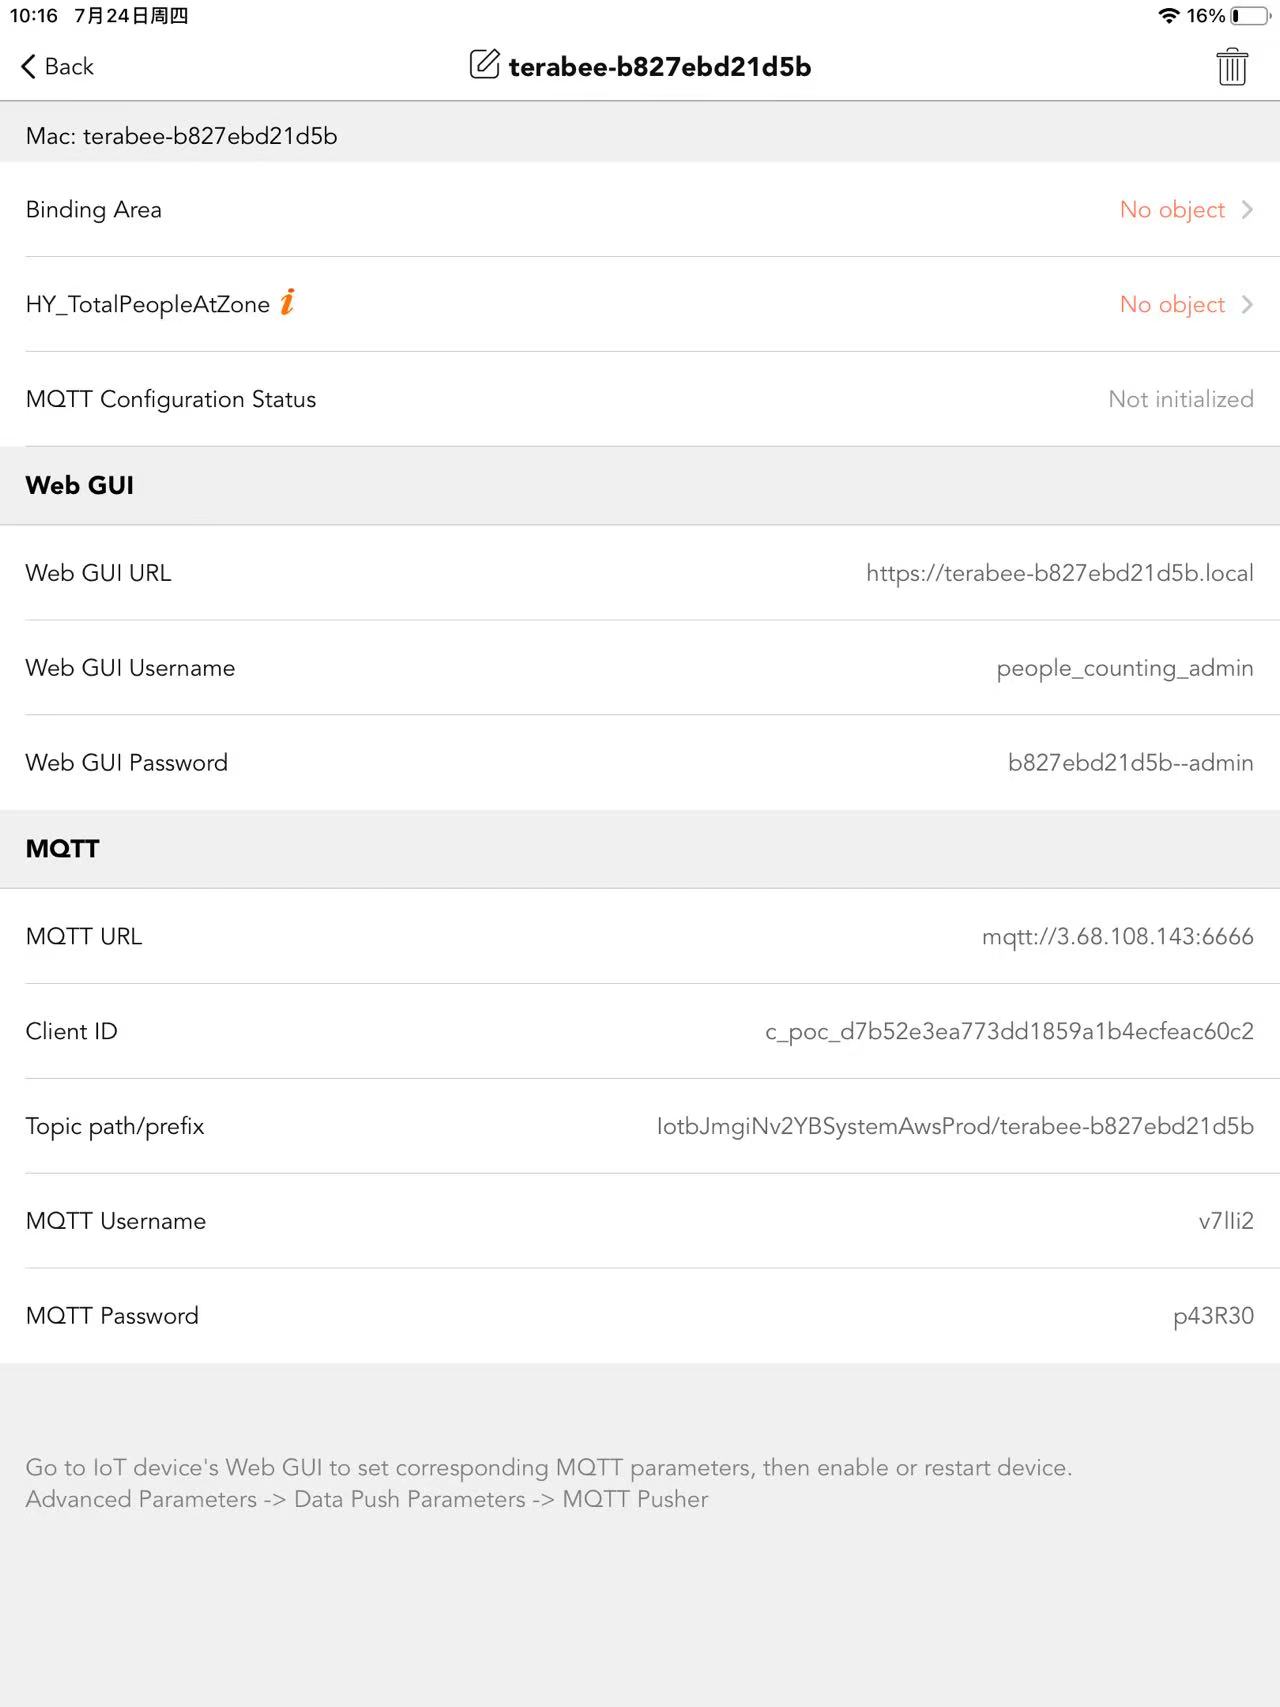
4.You will see the MQTT status showing “Not initialized.”
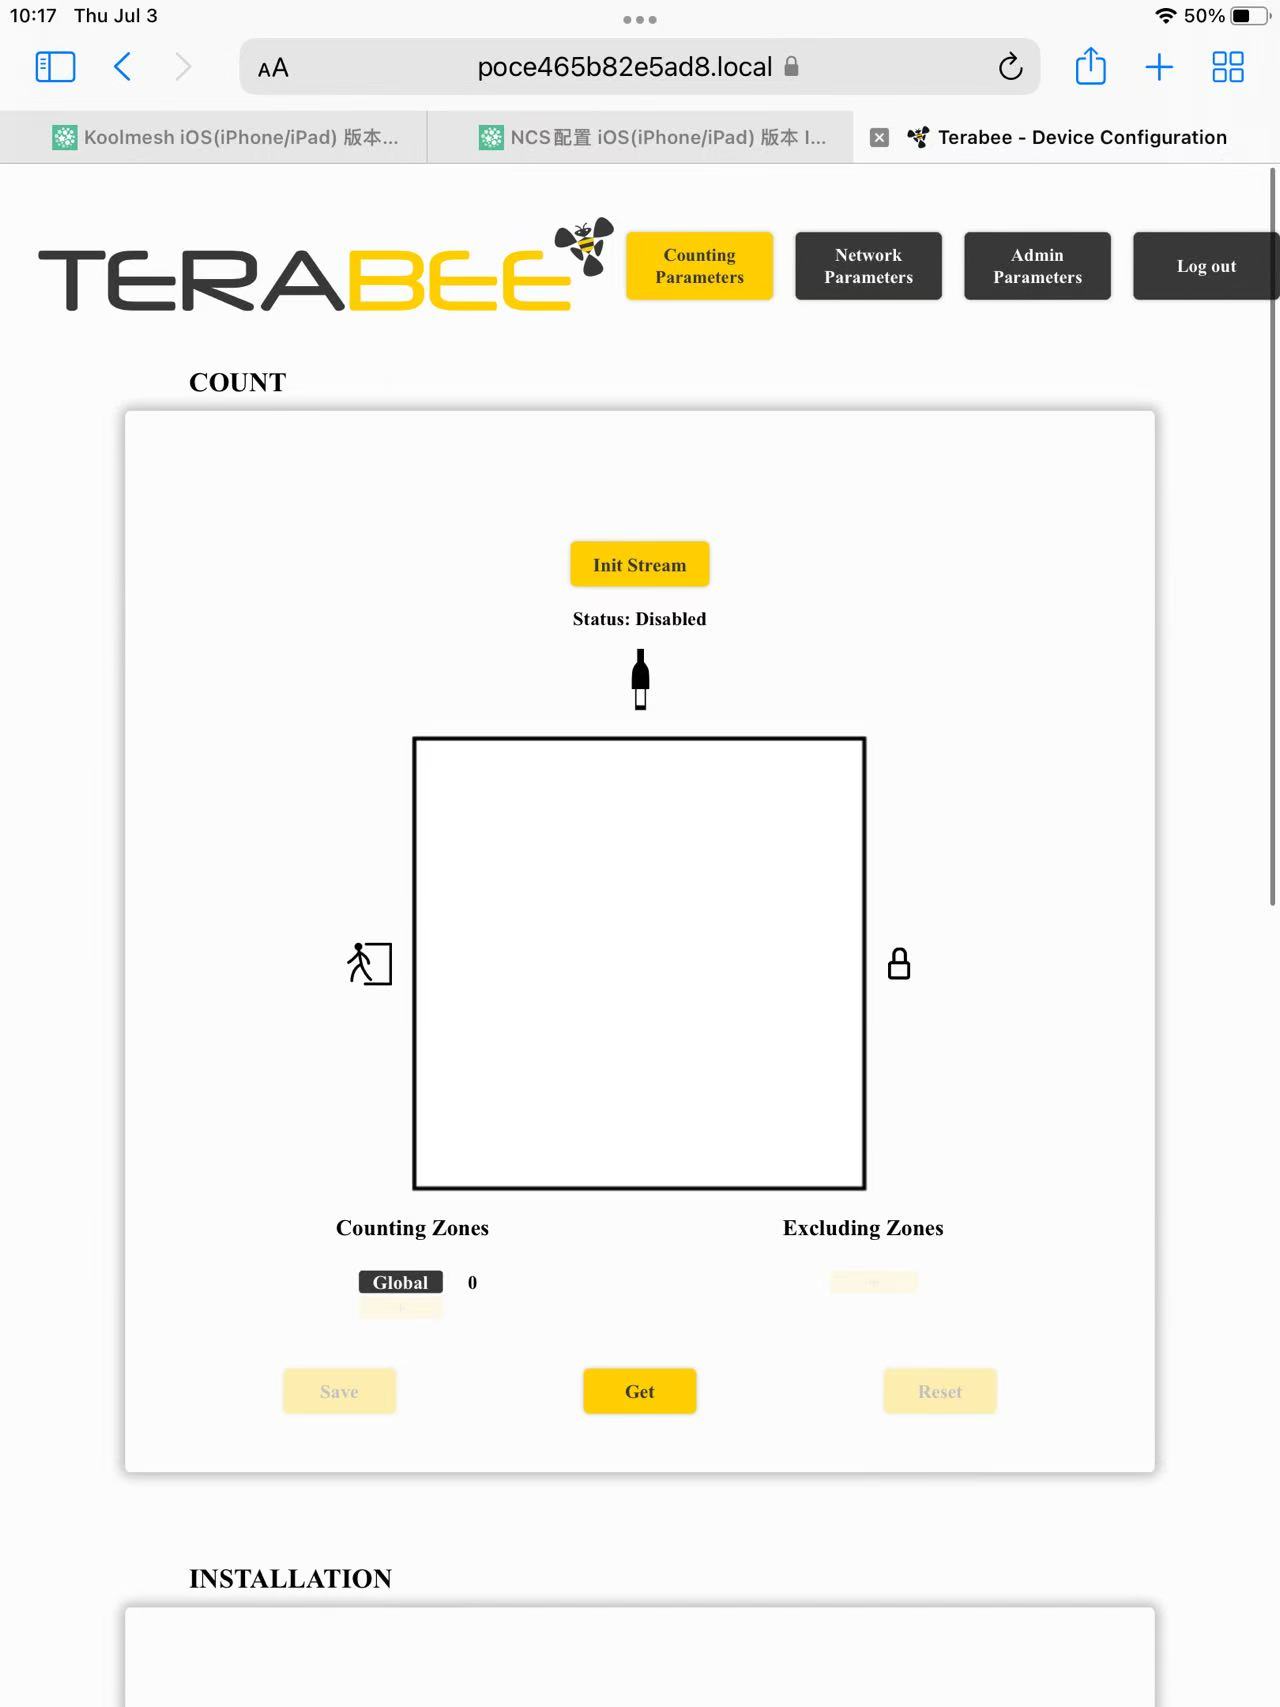
To configure this, access the Terabee web interface, complete the required settings, define and layout the detection area.
Both the "Web GUI" and "MQTT" need to be configured. Please access the Web GUI by searching for its URL via a search engine, then log in account.
How to do it please refer to below vedio.
All the configuration needs to be completed on the Terabee’s web interface. Once the initial commissioning is completed through the Terabee platform, further use of the Terabee web interface is no longer required.
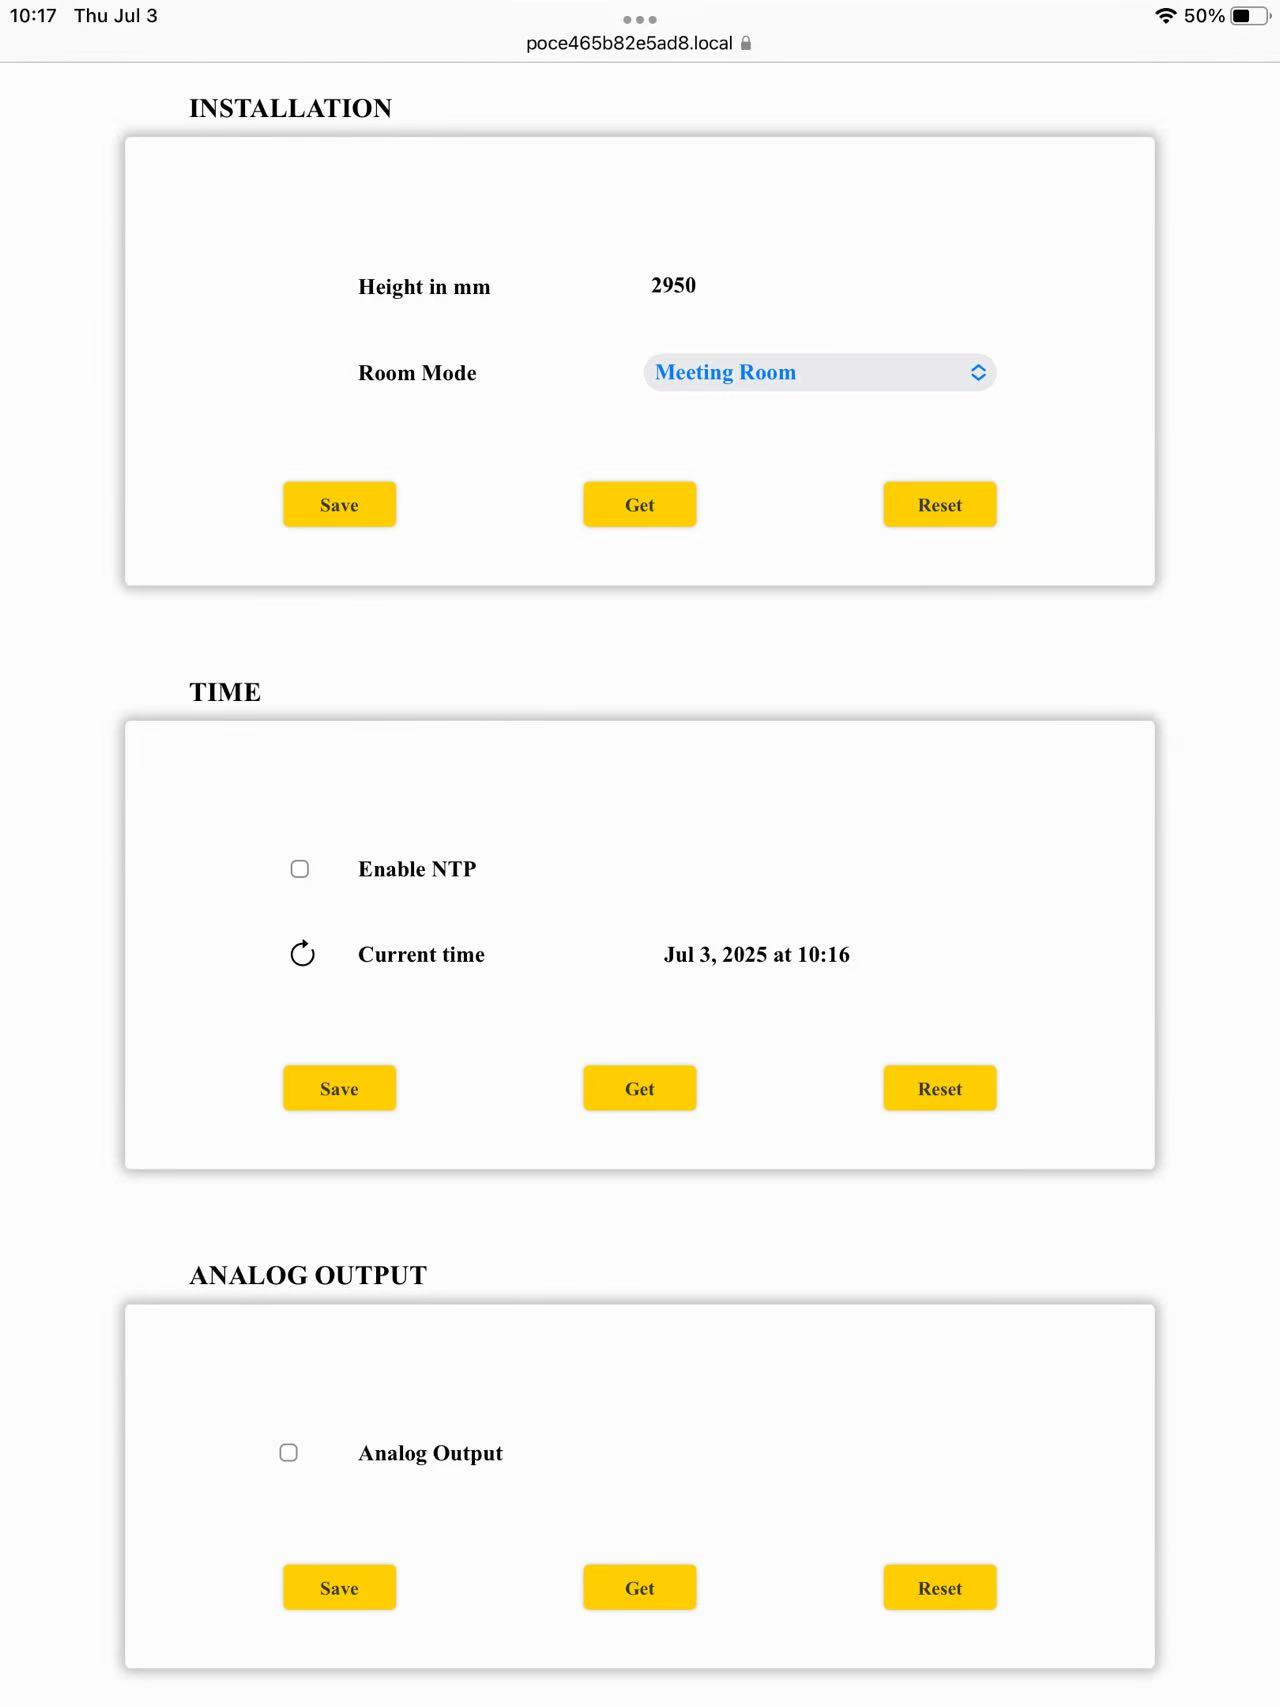
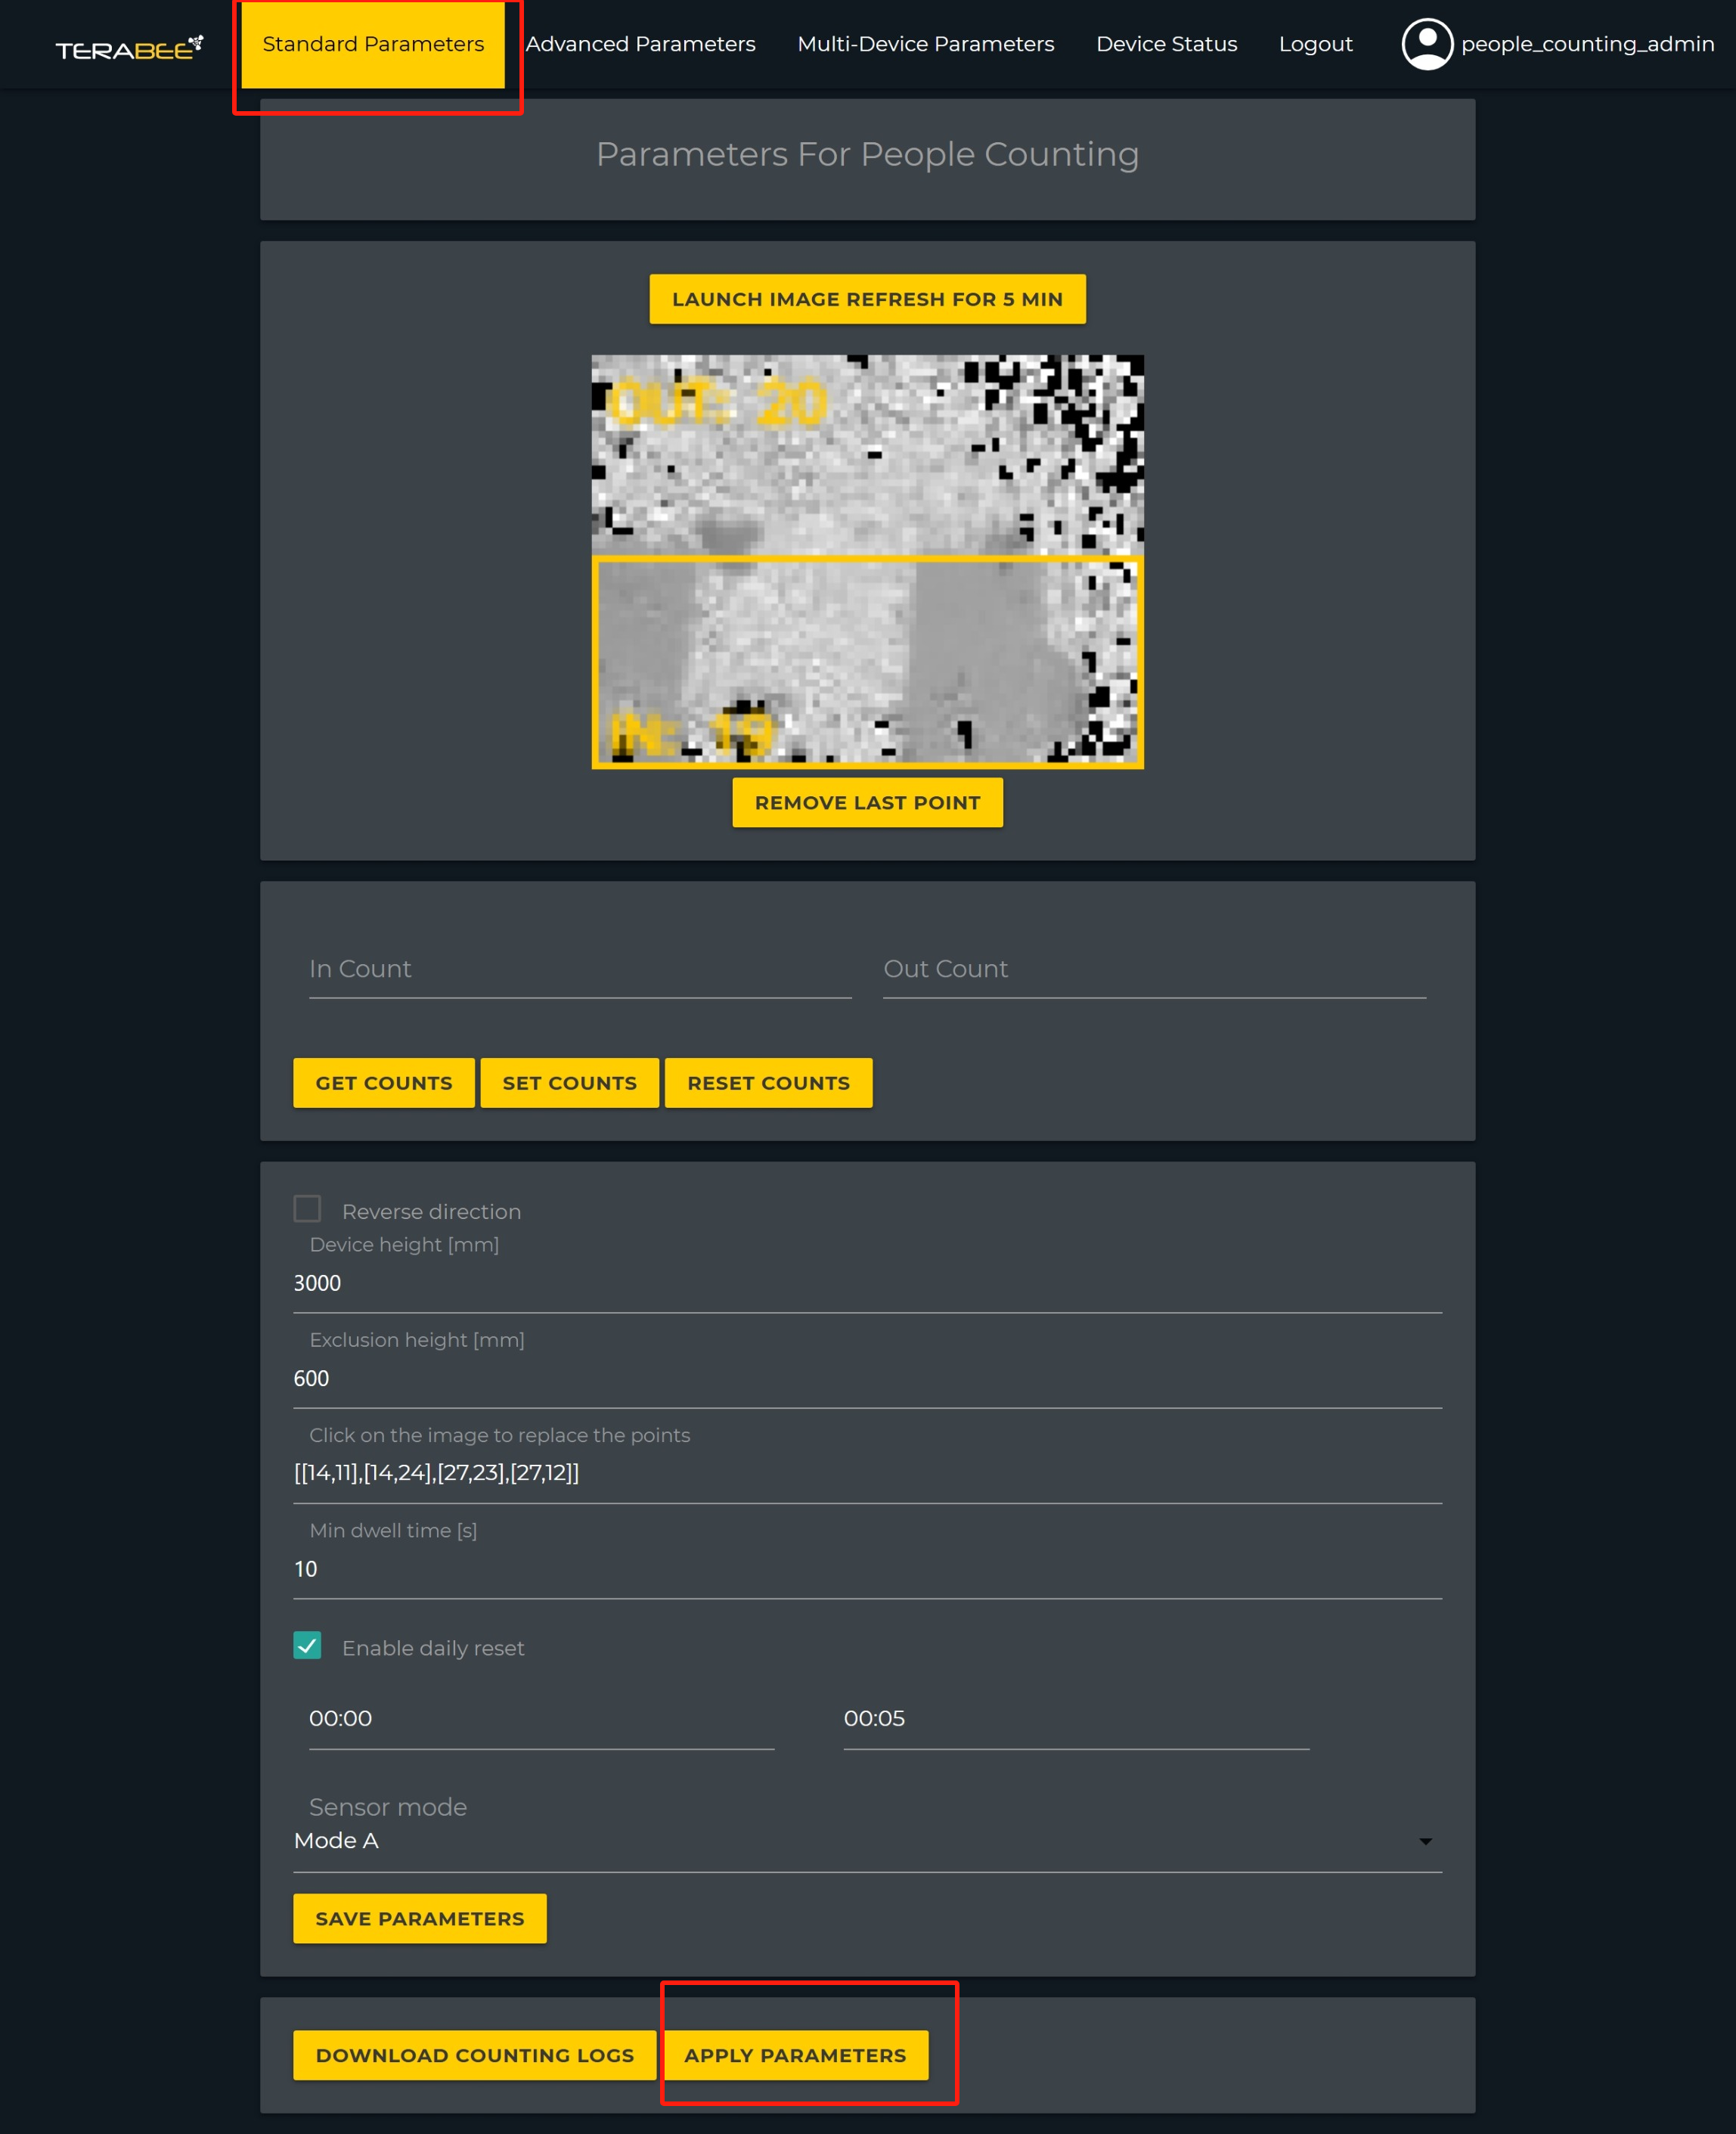
● Counting Parameters
Please define and layout the detection area under the "COUNT" section. And select the Height and mode under "INSTALLATION" section. Keep all other settings as default.
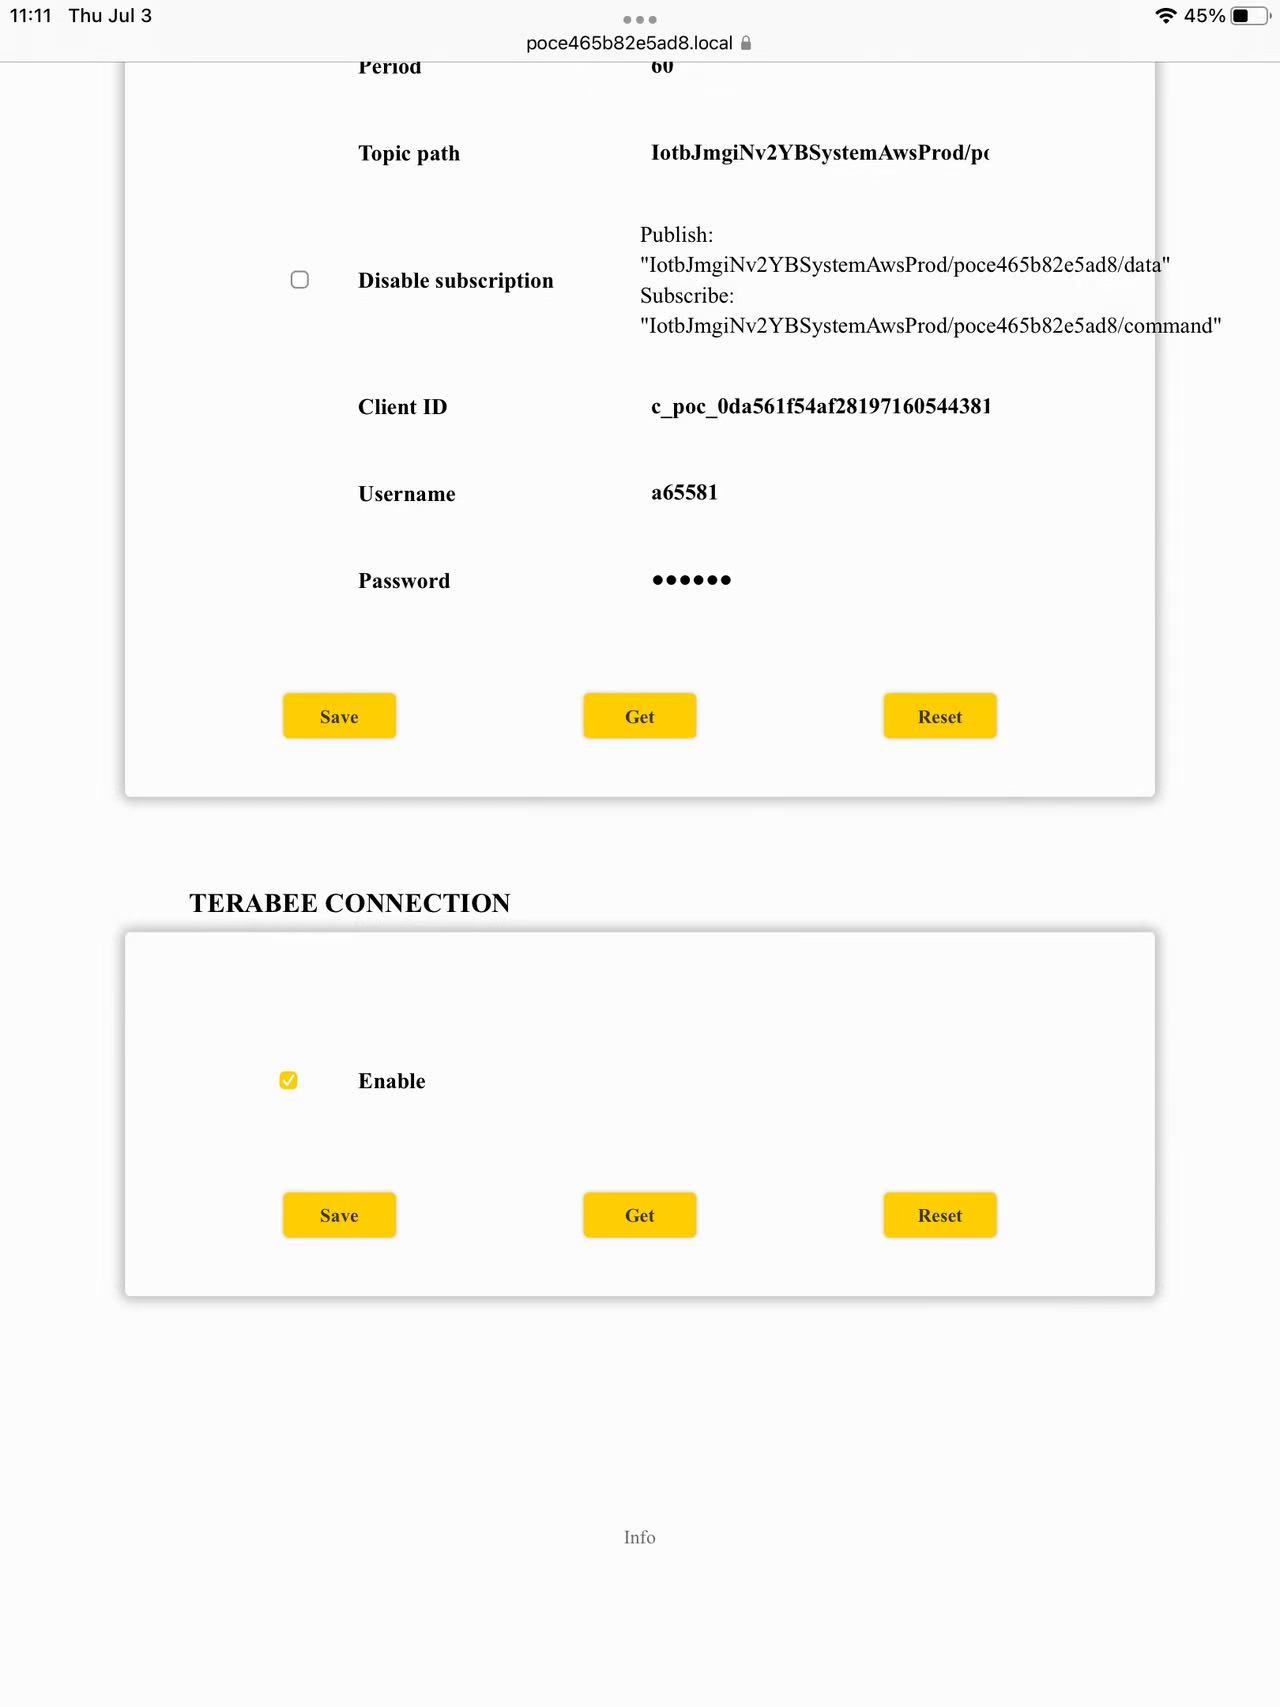
● Network Parameters
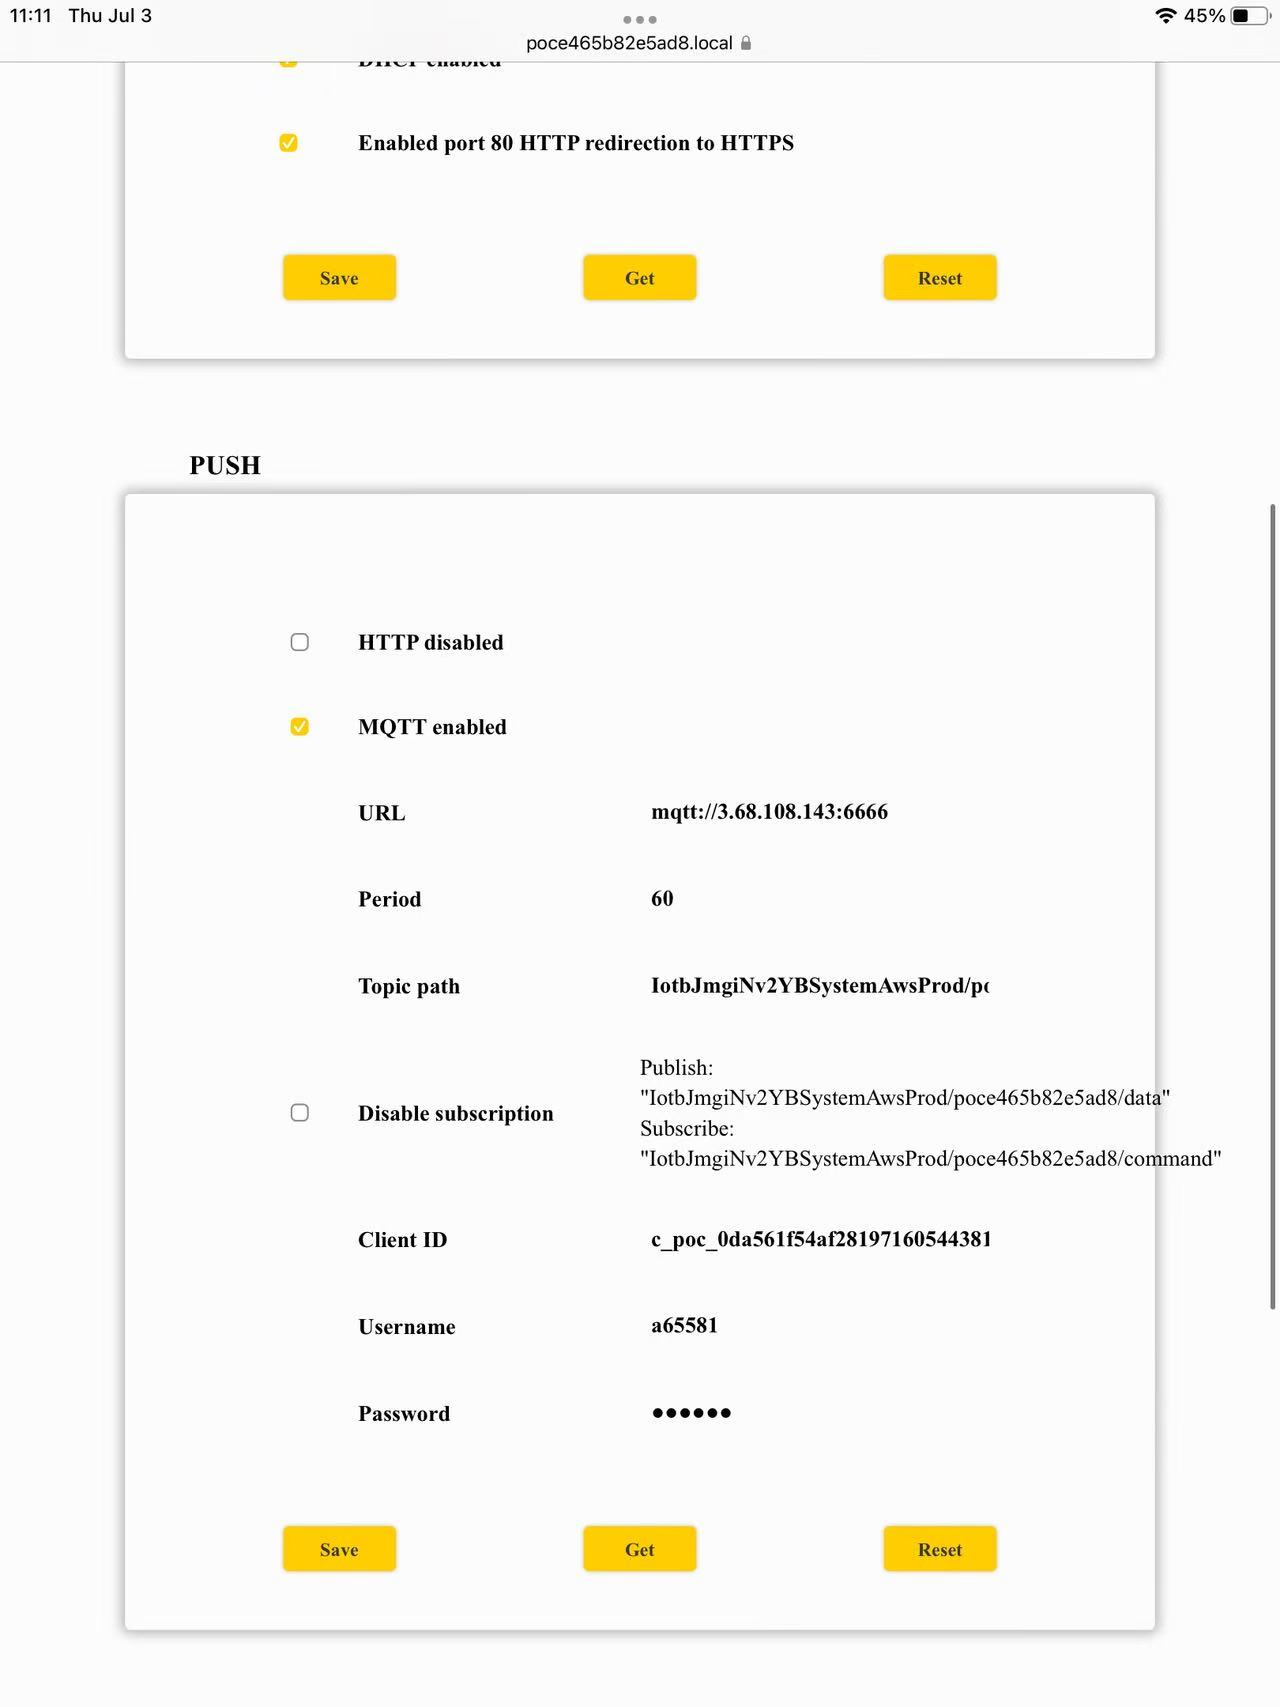
Please configure MQTT under “ PUSH” section, and “WI-FI & ETHERNET CONNECTION” keep as default
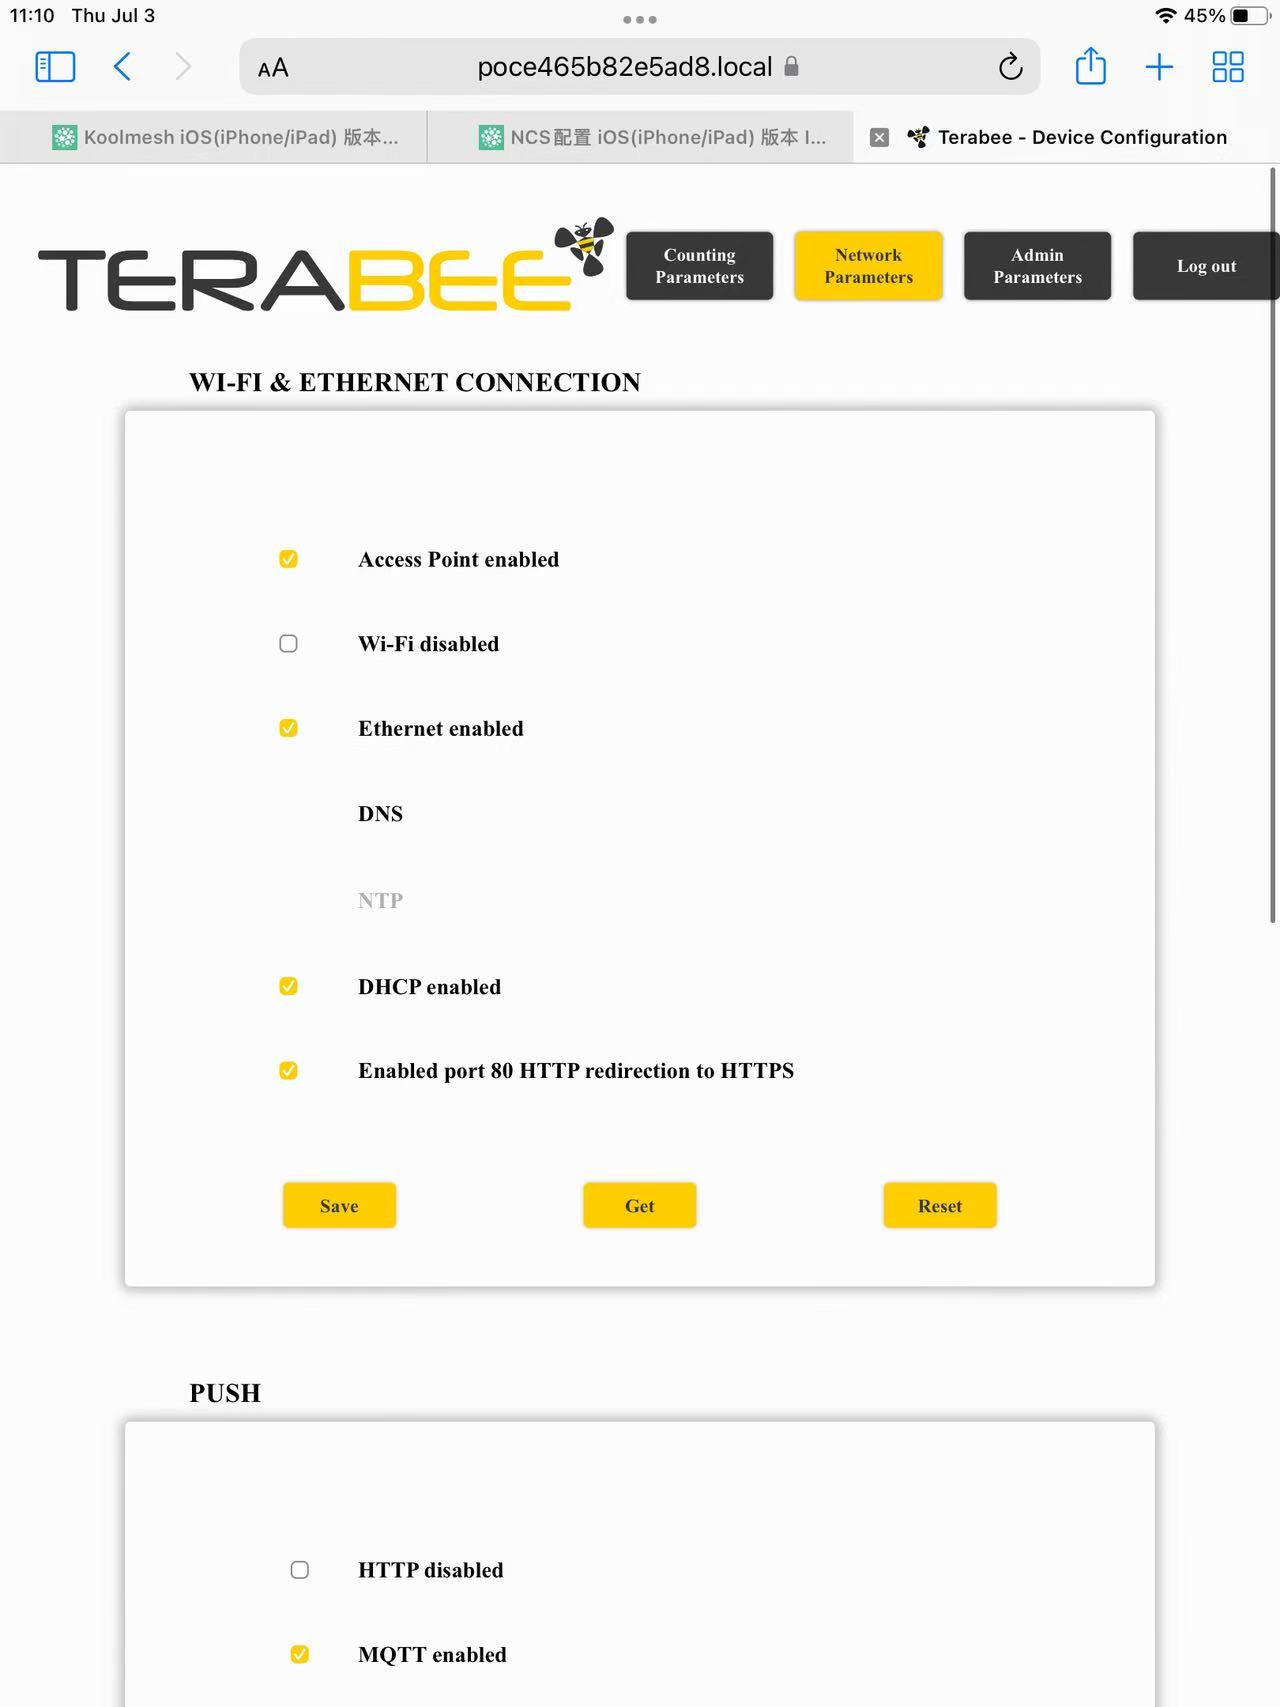
"TERABEE CONNECTION" keeps as default
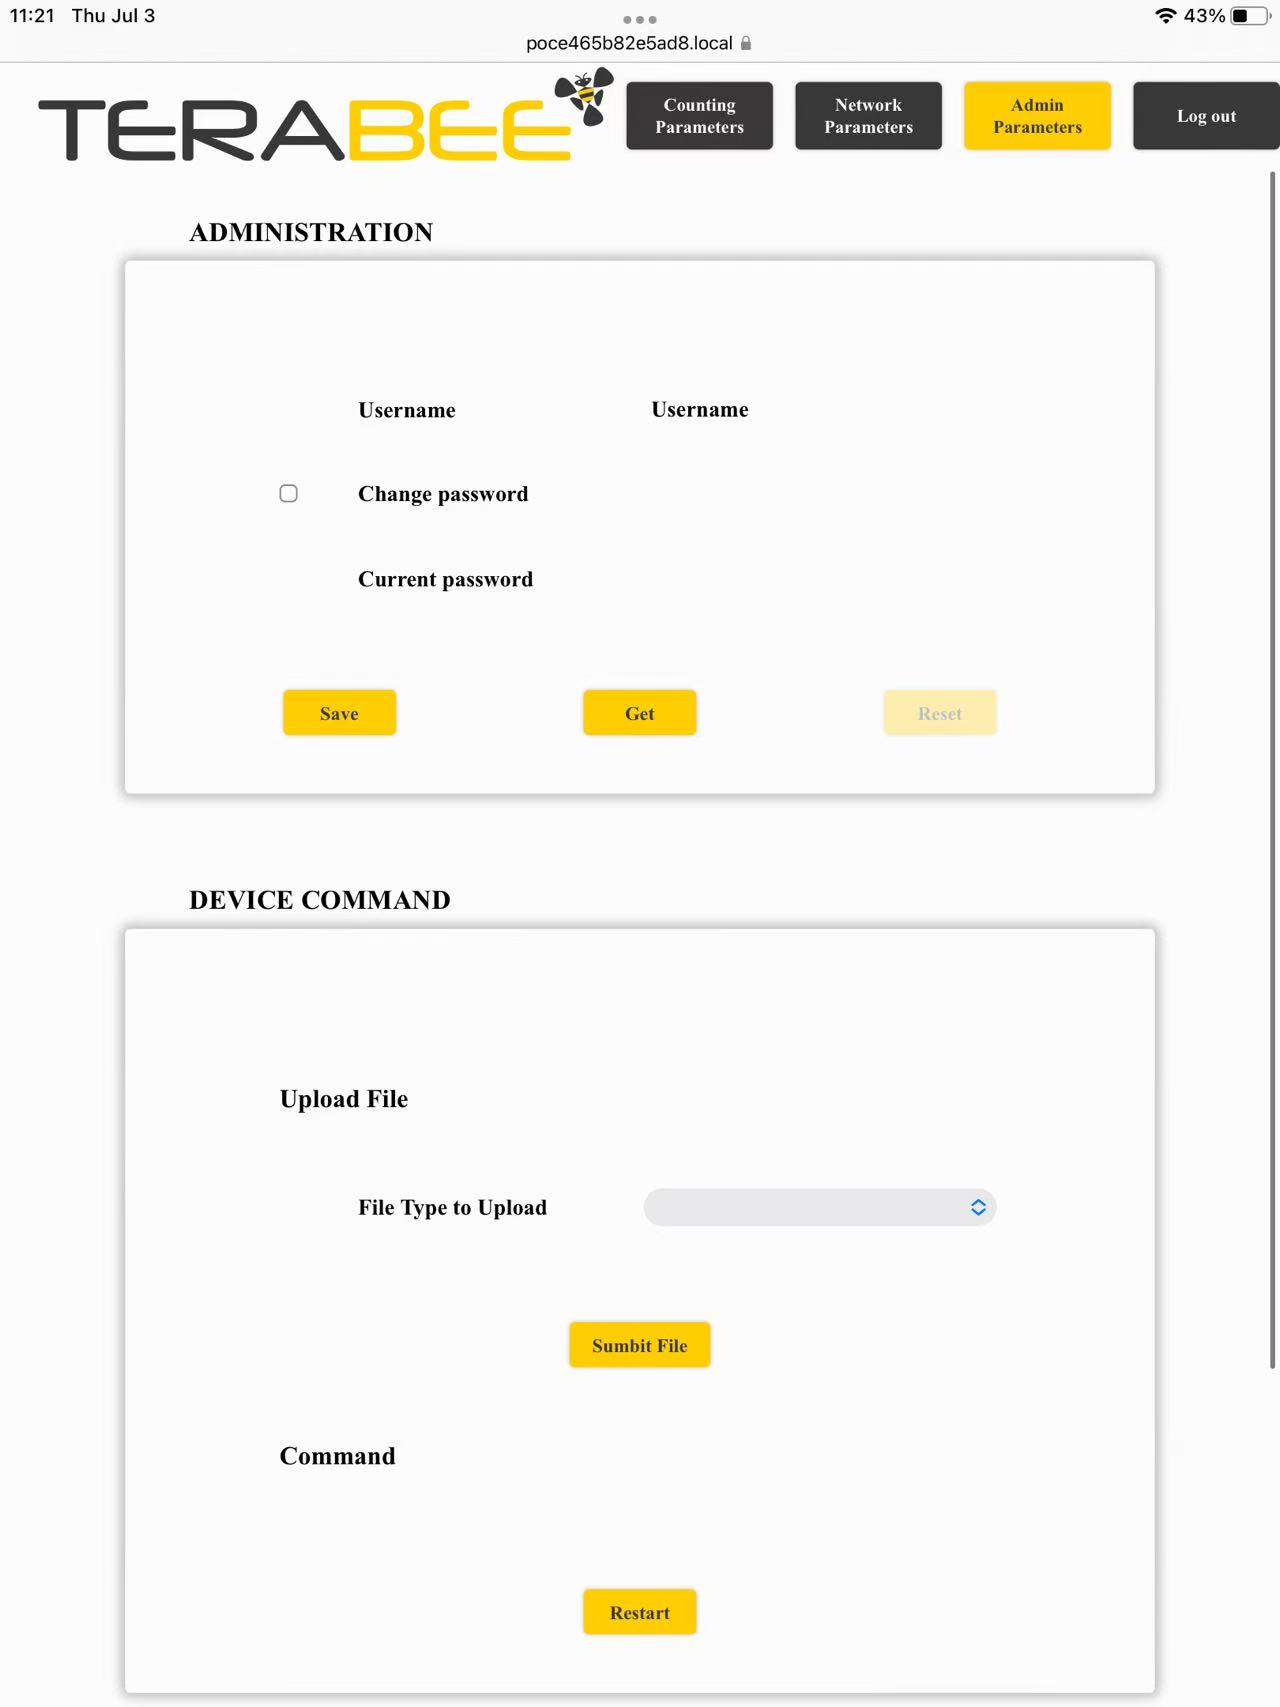
● Admin Parameters
Please keep as default
Further details please refer to Terabee product datasheet
Terabee People Flow Counting L-XL
To add a Terabee sensor to the Koolmesh system, follow these steps:
1.Ensure the Terabee sensor is properly installed and powered on.
2.Tap the “Add” button in the app and scan the QR code of the Terabee sensor.
3.Assign a control object, i.e., the zone where the sensor is installed (e.g., “zone1”).
4.You will see the MQTT status showing “Not initialized.”
To configure this, access the Terabee web interface, complete the required settings, define and layout the detection area.
Both the "Web GUI" and "MQTT" need to be configured. Please access the Web GUI by searching for its URL via a search engine, then log in account.
How to do it please refer to below vedio.
All the configuration needs to be completed on the Terabee’s web interface. Once the initial commissioning is completed through the Terabee platform, further use of the Terabee web interface is no longer required.
After log in the web interface,go to the Advanced Parameters page and finish the MQTT configuration.
● Advanced Parameters
On this page,we only need to set the Data Push Parameters,see image below.
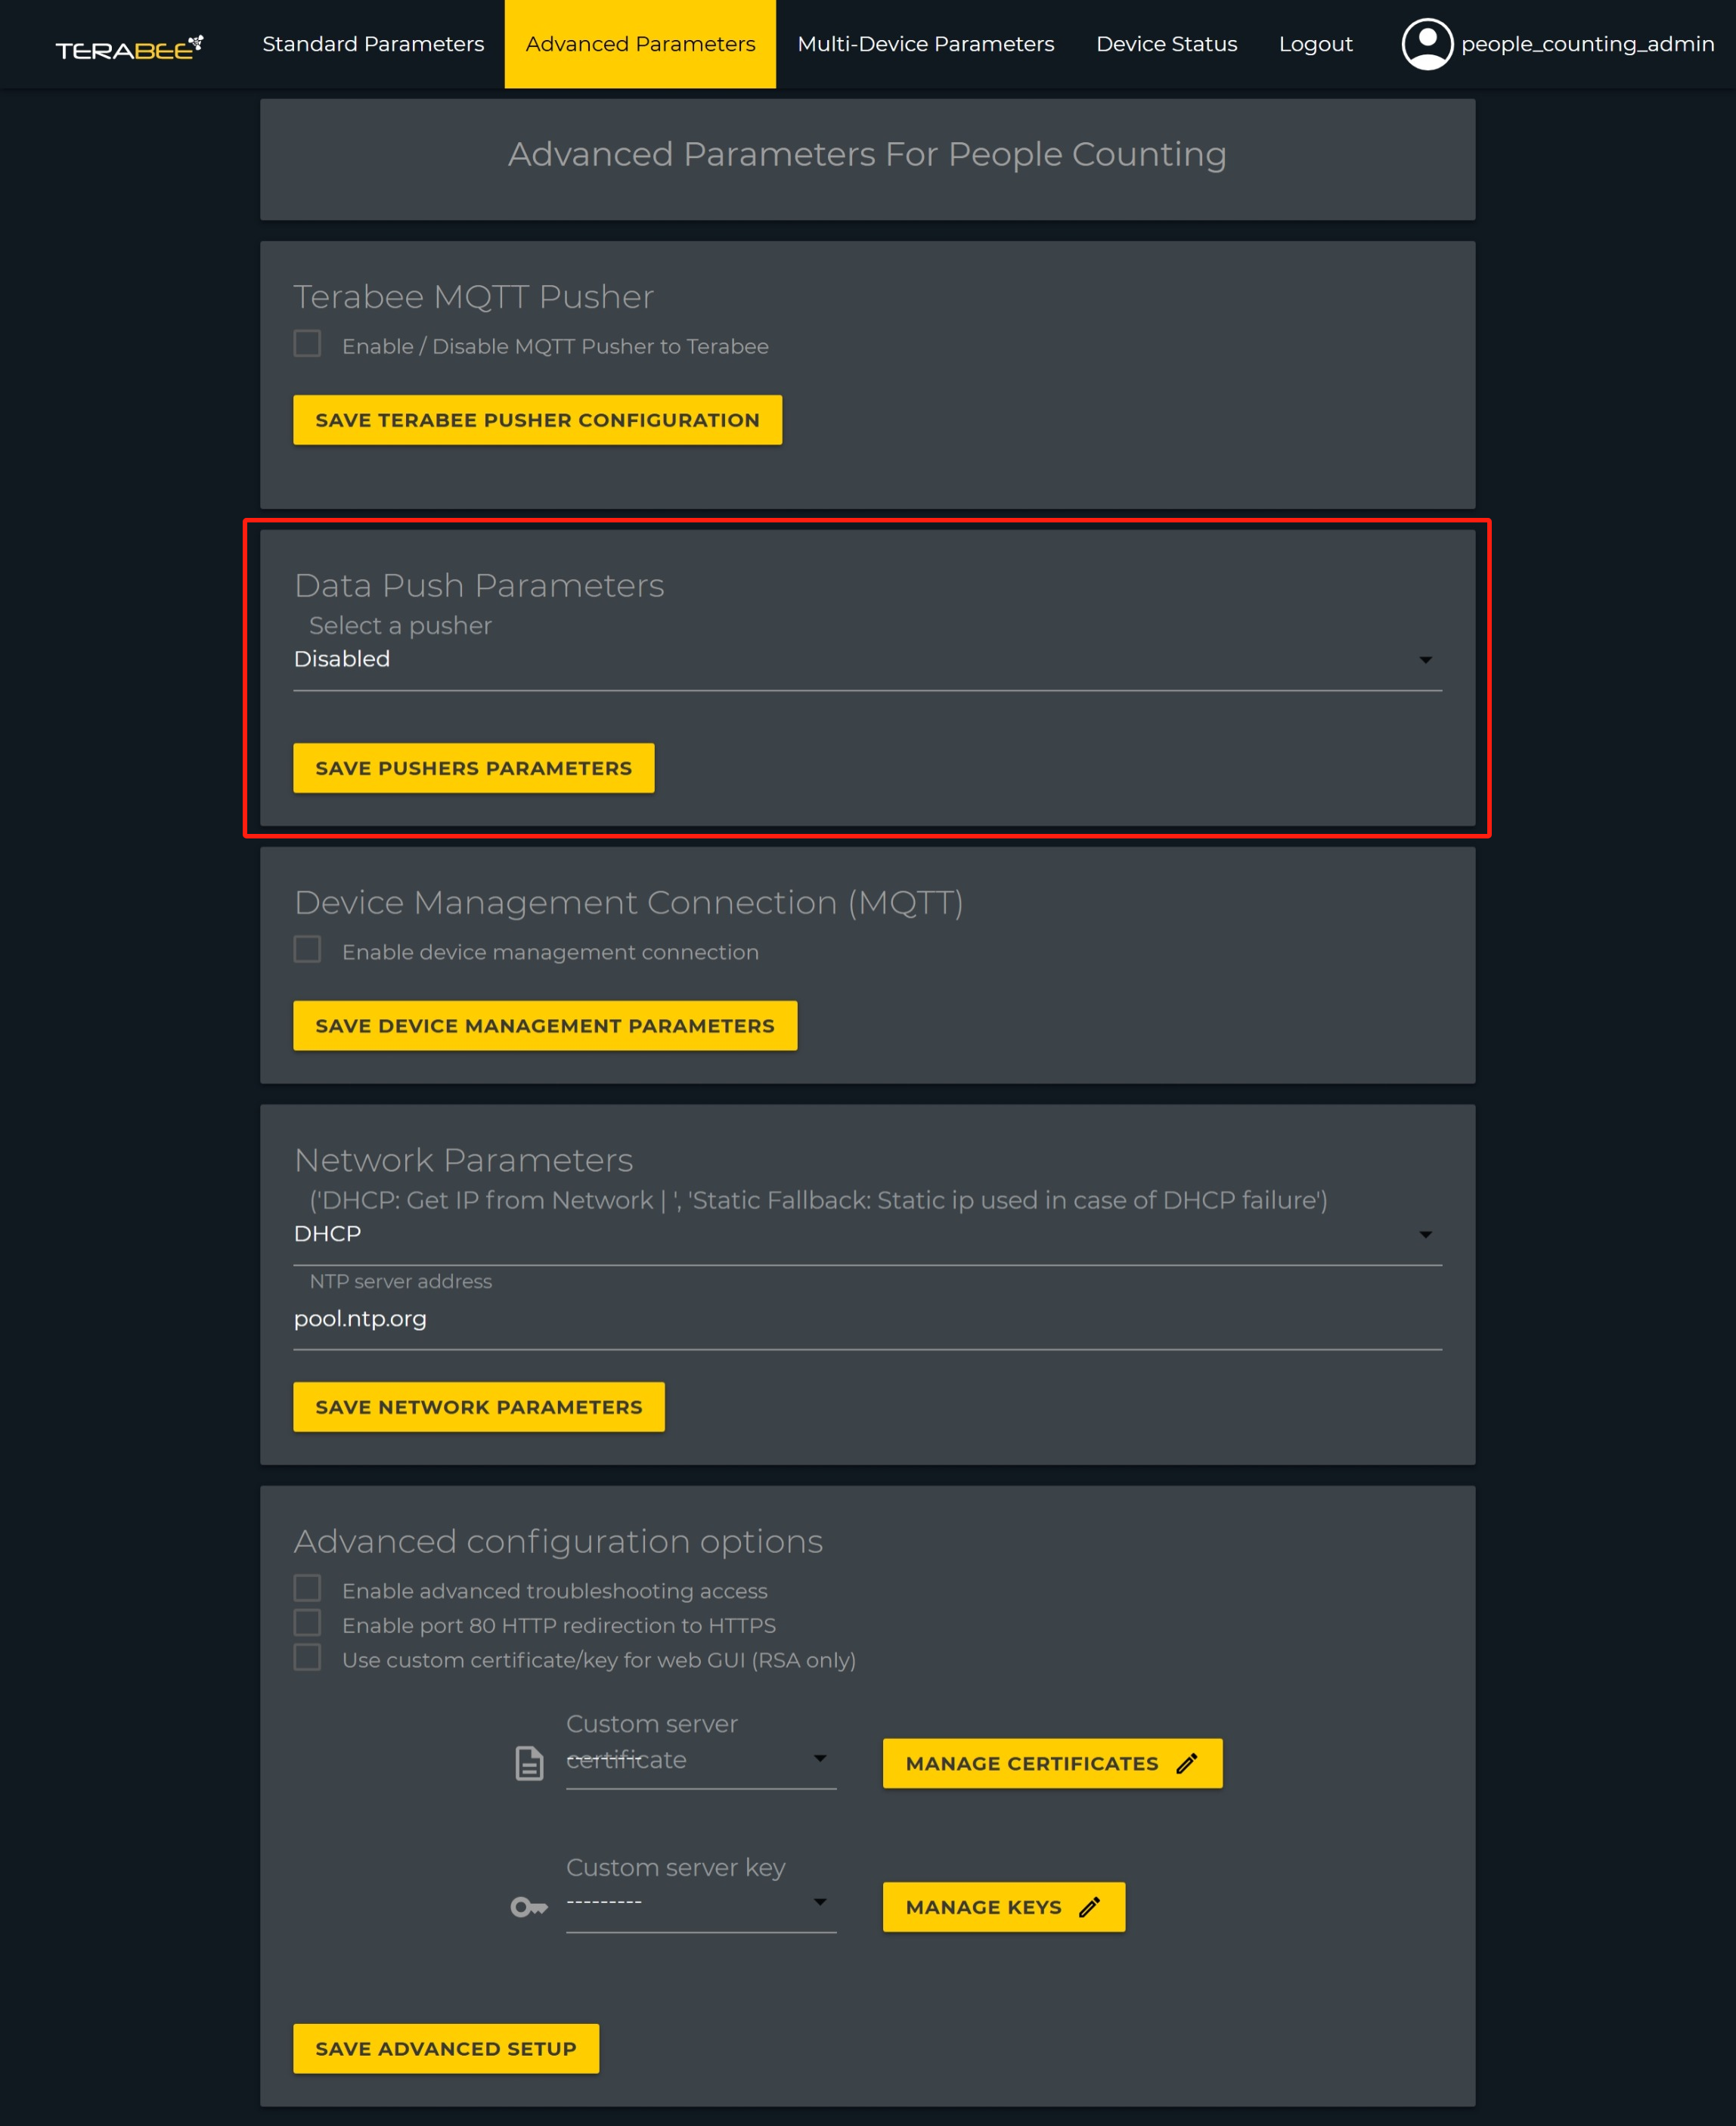
First,select the MQTT pusher type in the drop down menu.
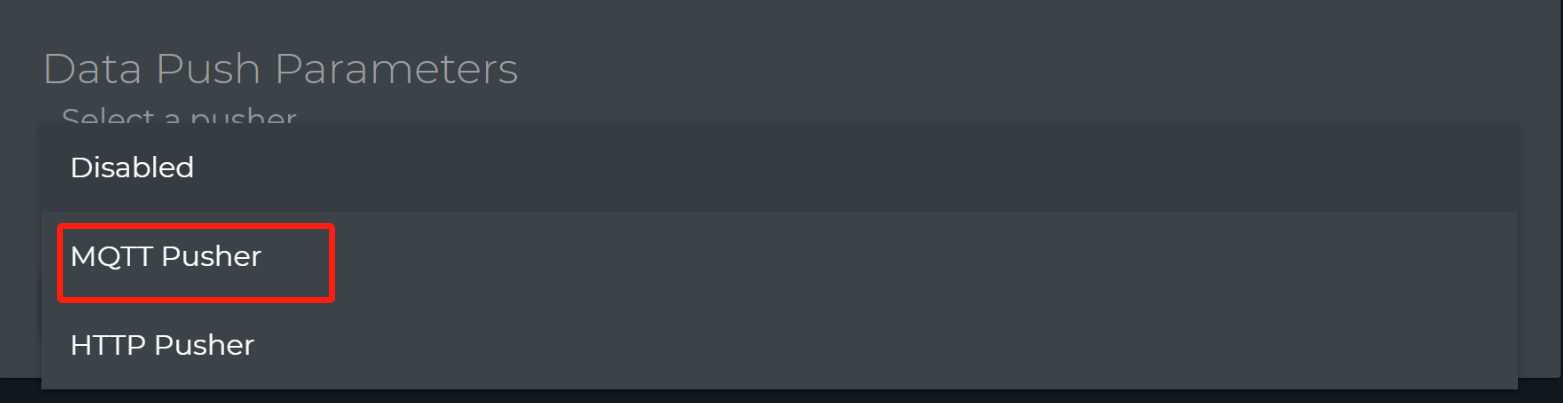
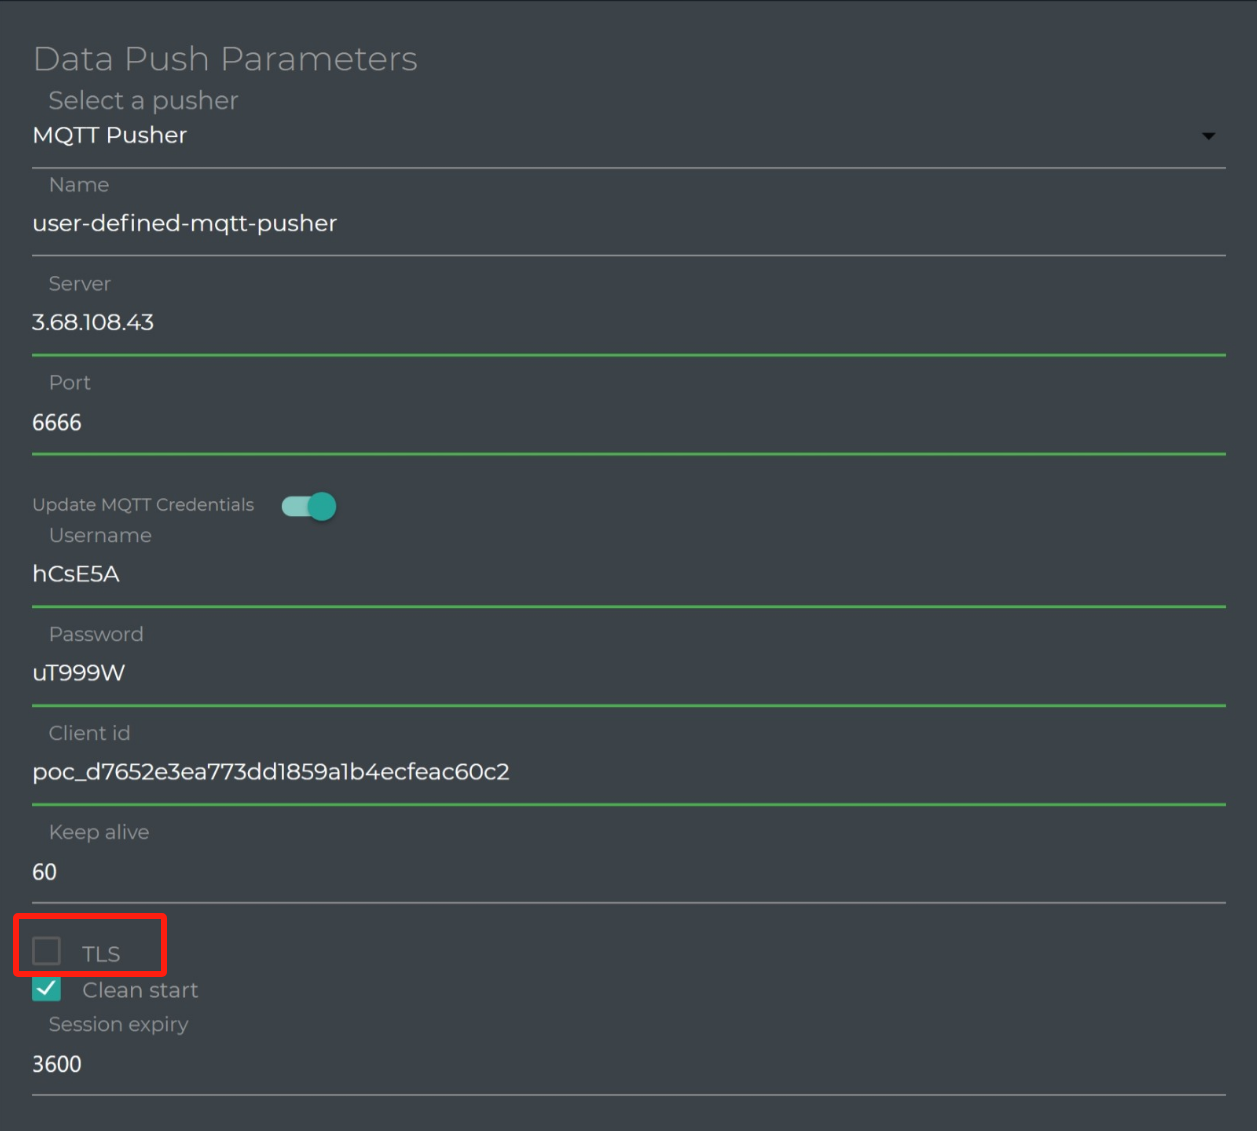
MQTT configuration
Users need to fill the Server,Port,Username,Password,Client id based on the information on the Koolmesh app.Others keep as default.
Attention!
1.The MQTT URL on the app include both server and port.
2.Uncheck the box of TLS as the default setting is checked.
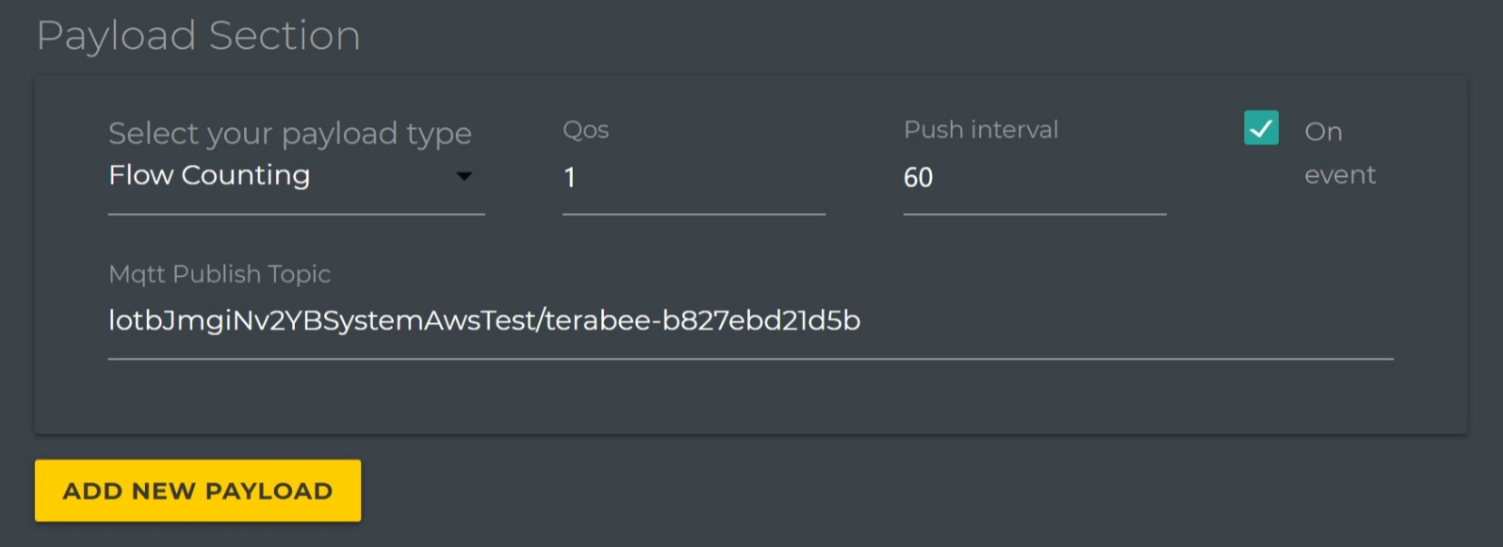
Select Payload Type between the different choices listed.
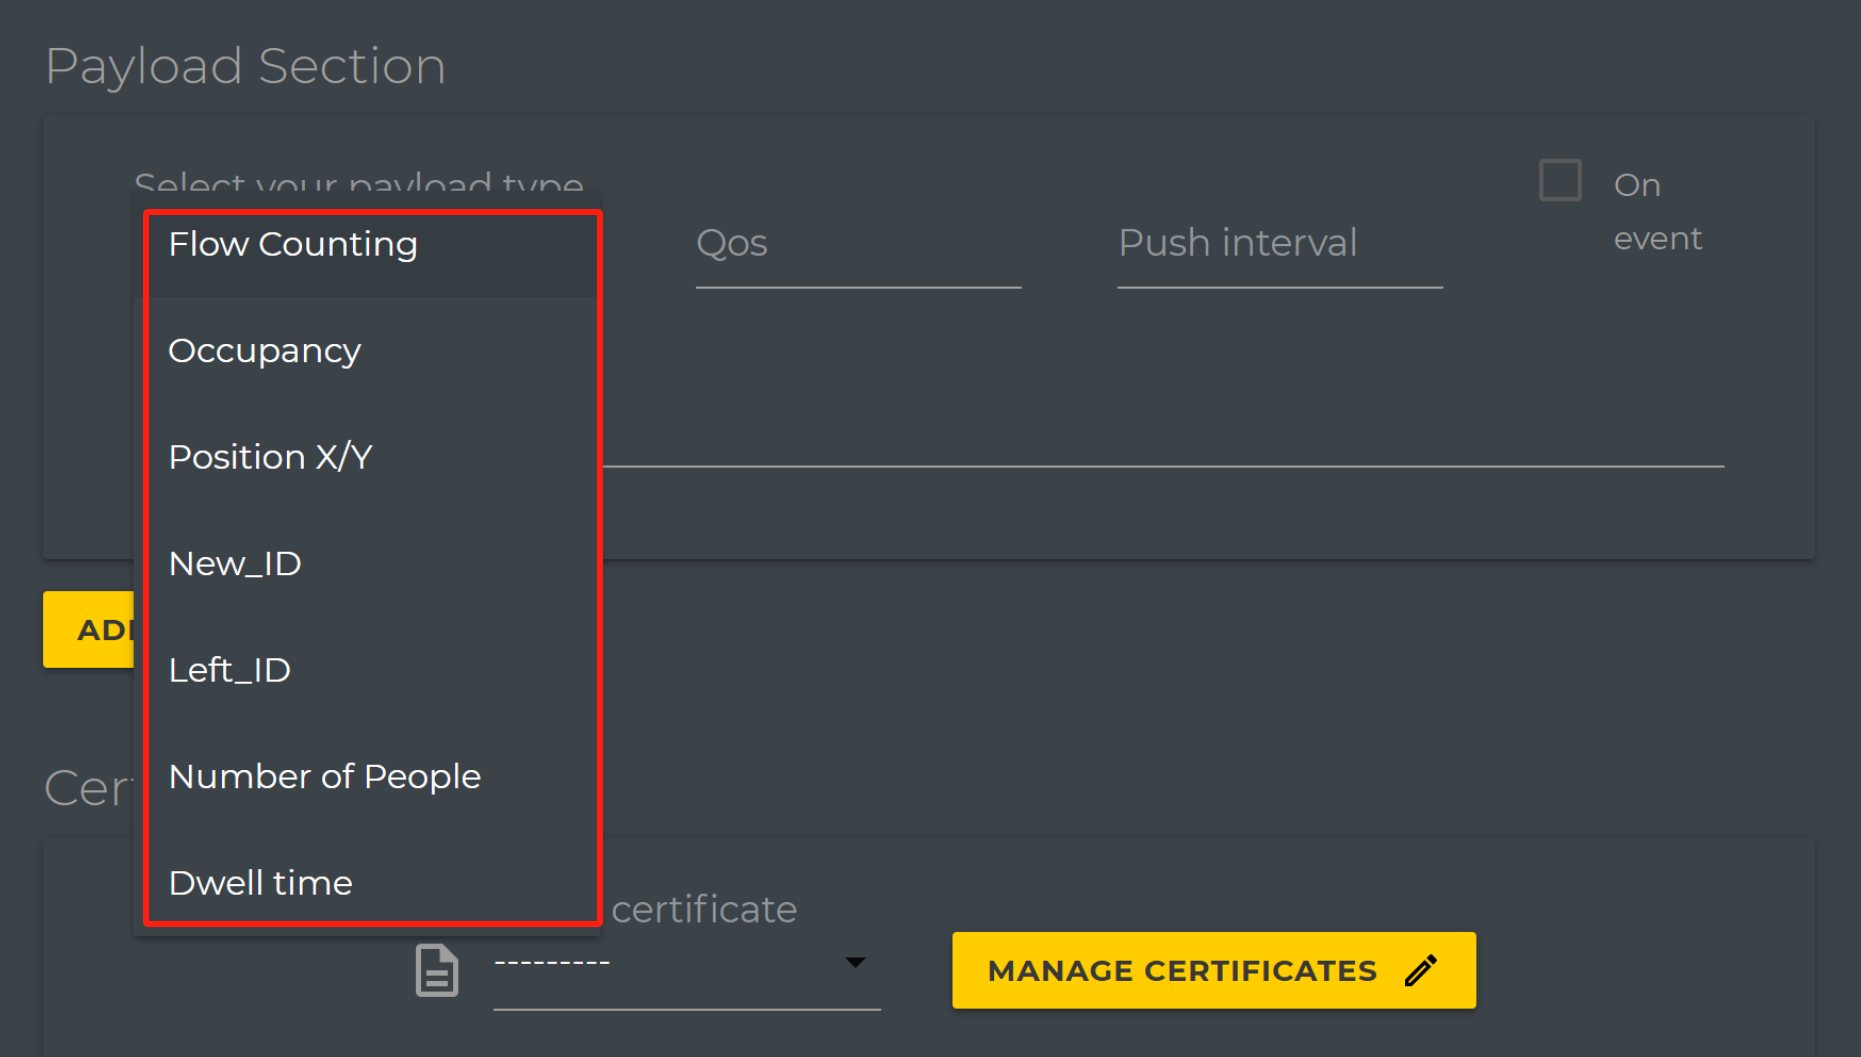
QoS (Quality of Service) level is an agreement between the sender of a message and the receiver of a message that defines the guarantee of delivery for a specific message.
There are 3 QoS levels in MOTT:
● At most once (0)
● At least once (1)(recommended)
● Exactly once (2)
The Push interval indicates the Data push interval in seconds.
Tick the box “On event" to enable the data push at every counting event(Entrance or Exit).
MOTT Publish Topic field where the device should push data to,here we can copy the information from Koolmesh app.
Once you have entered all the parameters, click "Save MOTT Parameters" to save the data push settings.
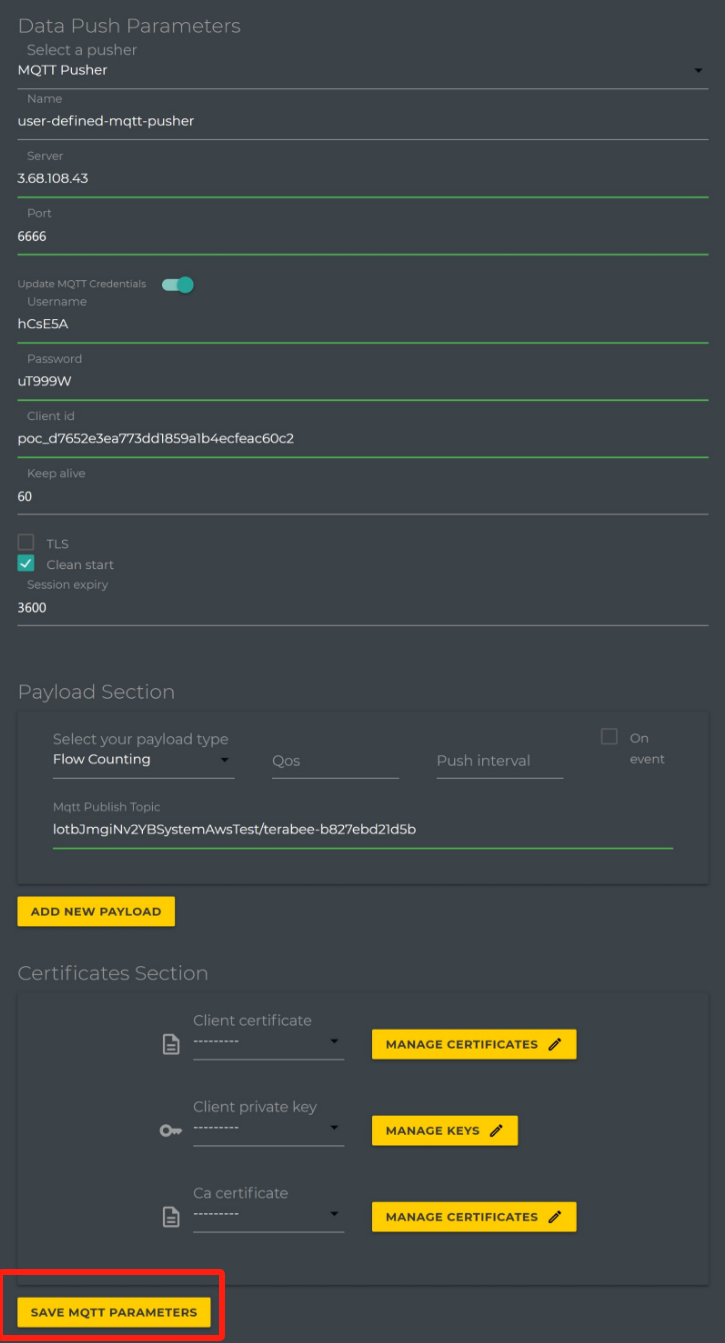
Leave other settings as default.Click “Standard Parameters" to come back to the Standard Parameters page,click"Apply Parameters" to save all settings and restart the device.
Further details please refer to Terabee product datasheet